DIY Trellis
/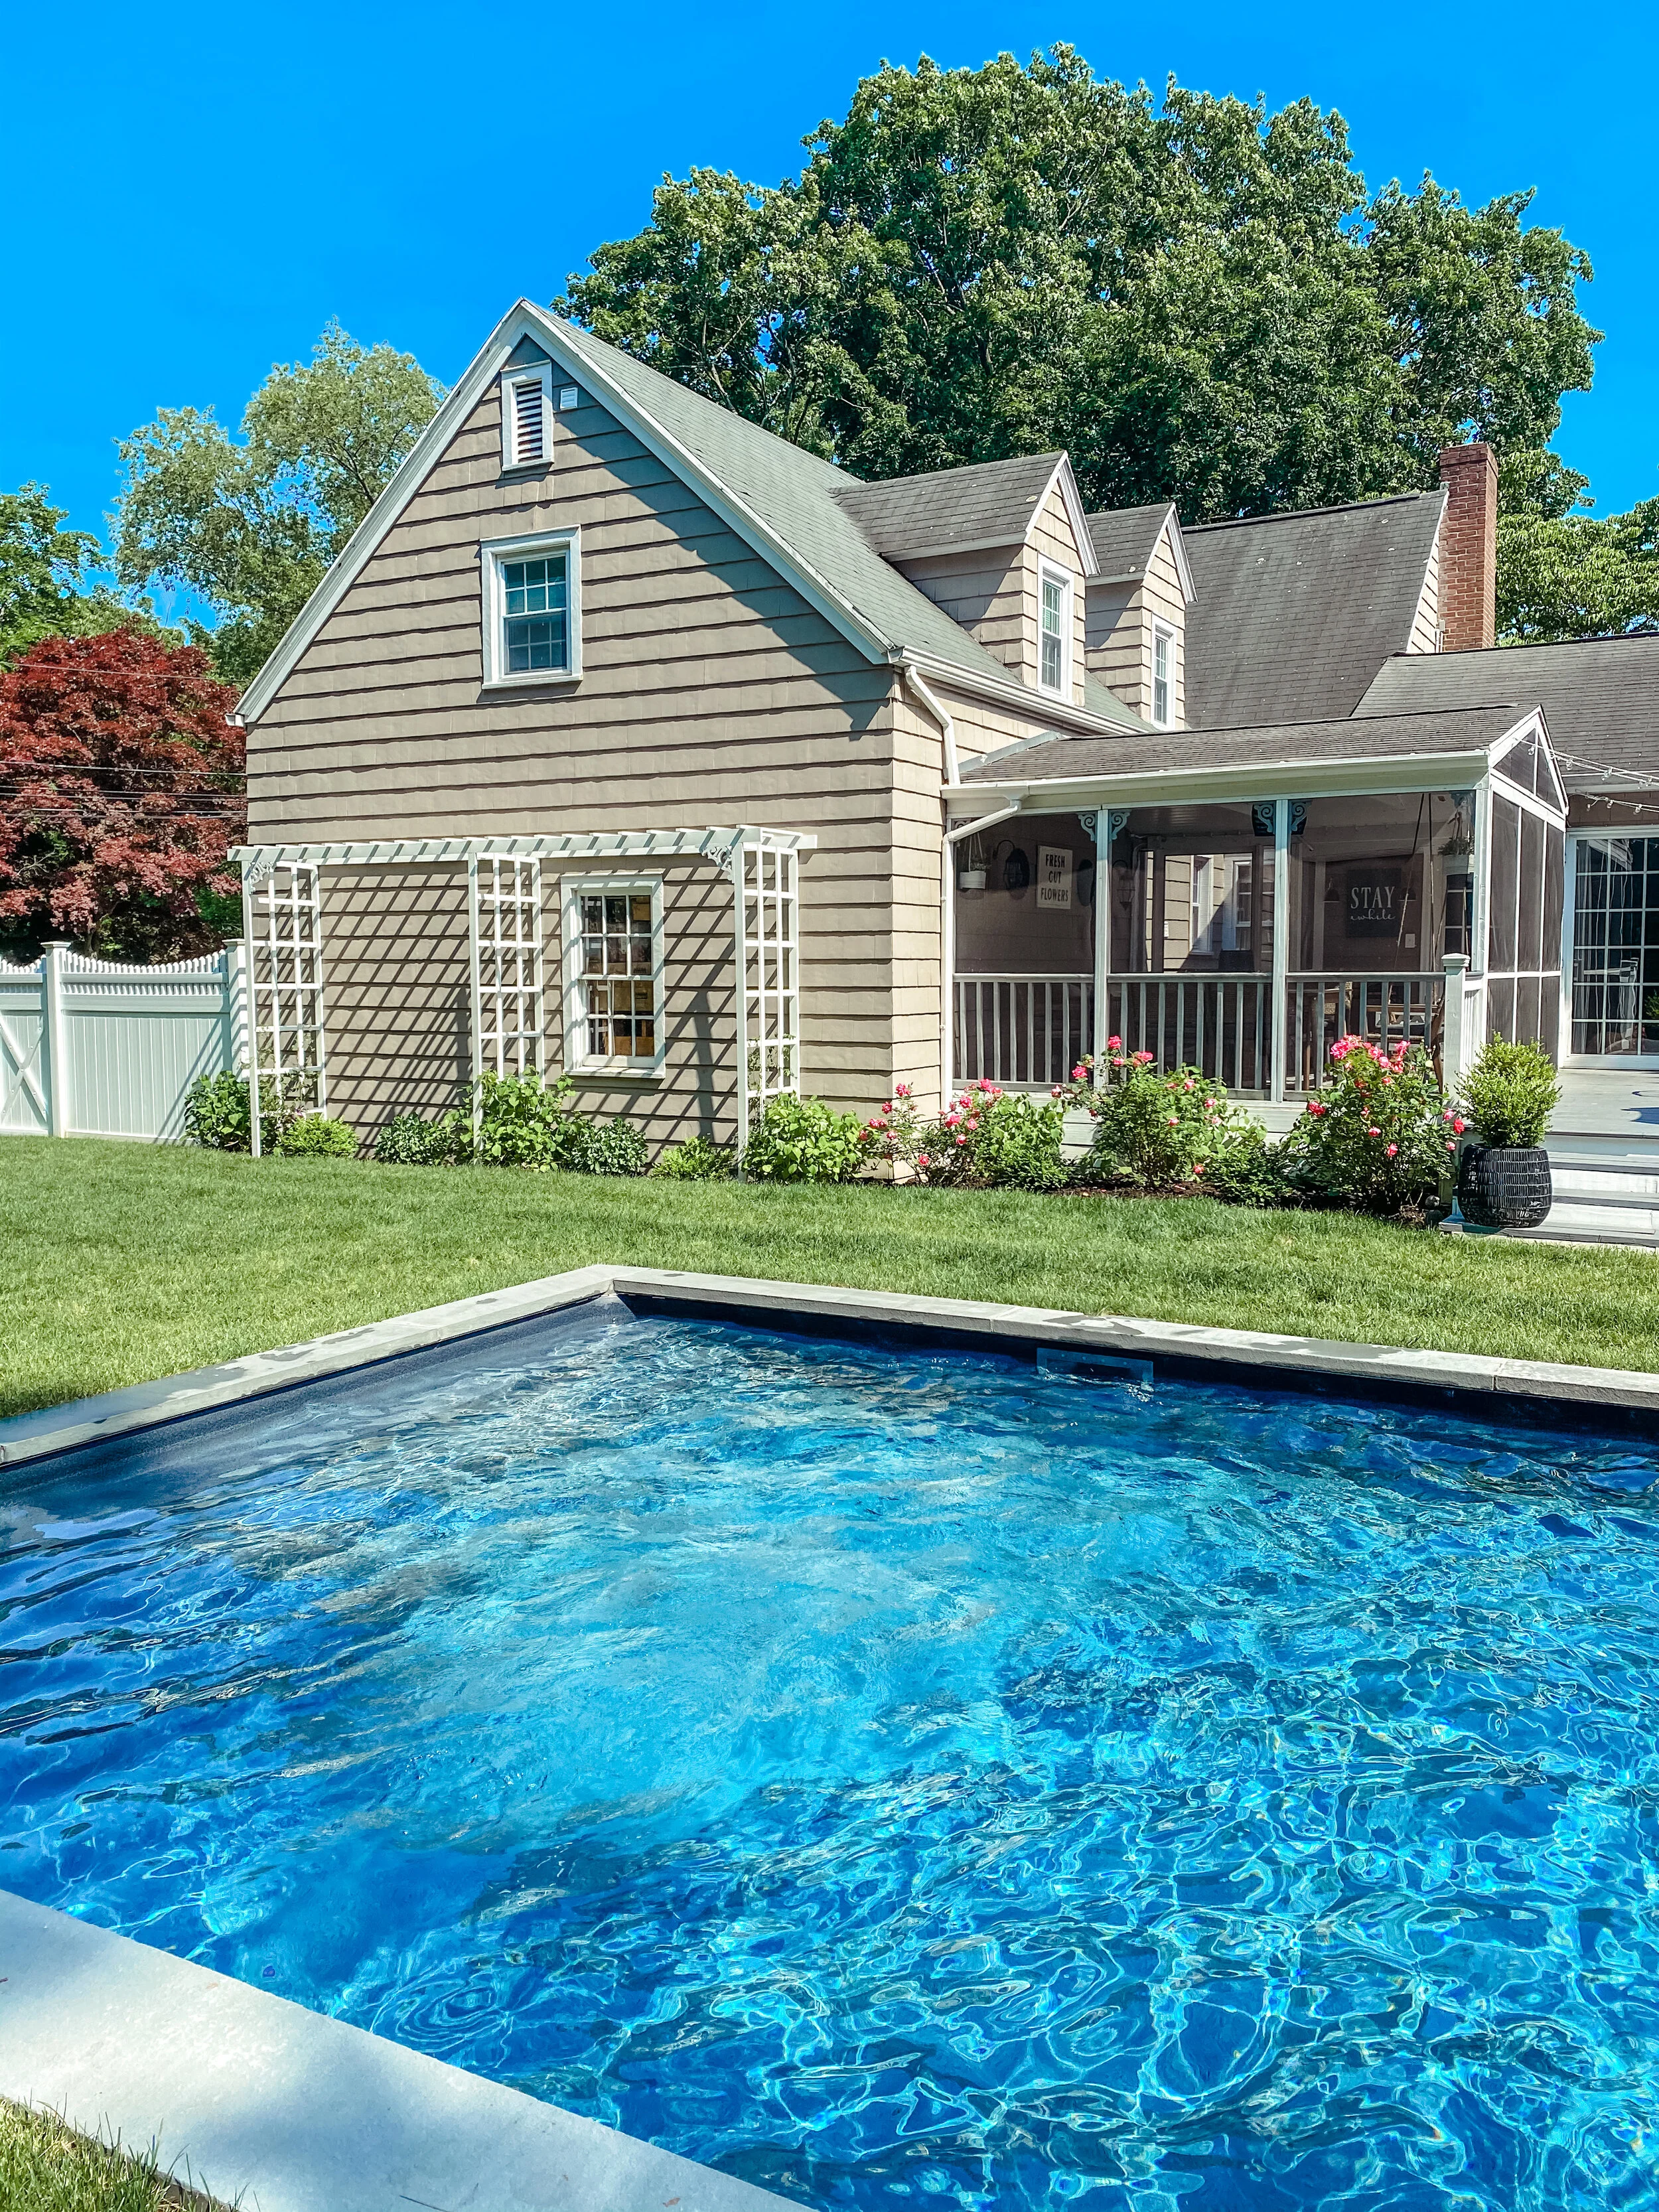
I have always wanted to spruce up this big blank side of our house! Its a lot of siding with 2 windows that are not symmetrical to each other! I loved the idea of a trellis, but the one we really wanted was sold out with no back in stock date…enter my home hero, Mr. Seasoned Home! He studied the picture I liked and then, of course, had to make his ever favorite trip to The Home Depot!!! We decided to use PVC, because even though it is more costly, it requires little to no maintenance. Mr. SH felt this was a pretty easy project and completed it in about a day!

Materials to make an 8’ high x 16’ wide x 2’ deep trellis

The first step was to fasten two of the 1x4 boards against the house. Next Mr. SH fastened the back legs (1x3) to the house. Then he built the middle trellis pieces, placing 2 full sized 1x2 boards 8” apart and then placed (7) 2’boards 1’ apart going down in a checkerboard pattern.

We attached the checkerboard trellis to the back 1x3 leg with the nail gun and then attached the front 1x3 leg to that.

Then he attached the top 1x4 to the trellis post by using a 6” piece of a 1x2, placing it on the back, so he could nail the front 1x4 across it. Then he did the same for the second 1x4.

Finally, he cut (18) 28” long 1x2 to make the slats across the top and spaced them evenly 8” apart.
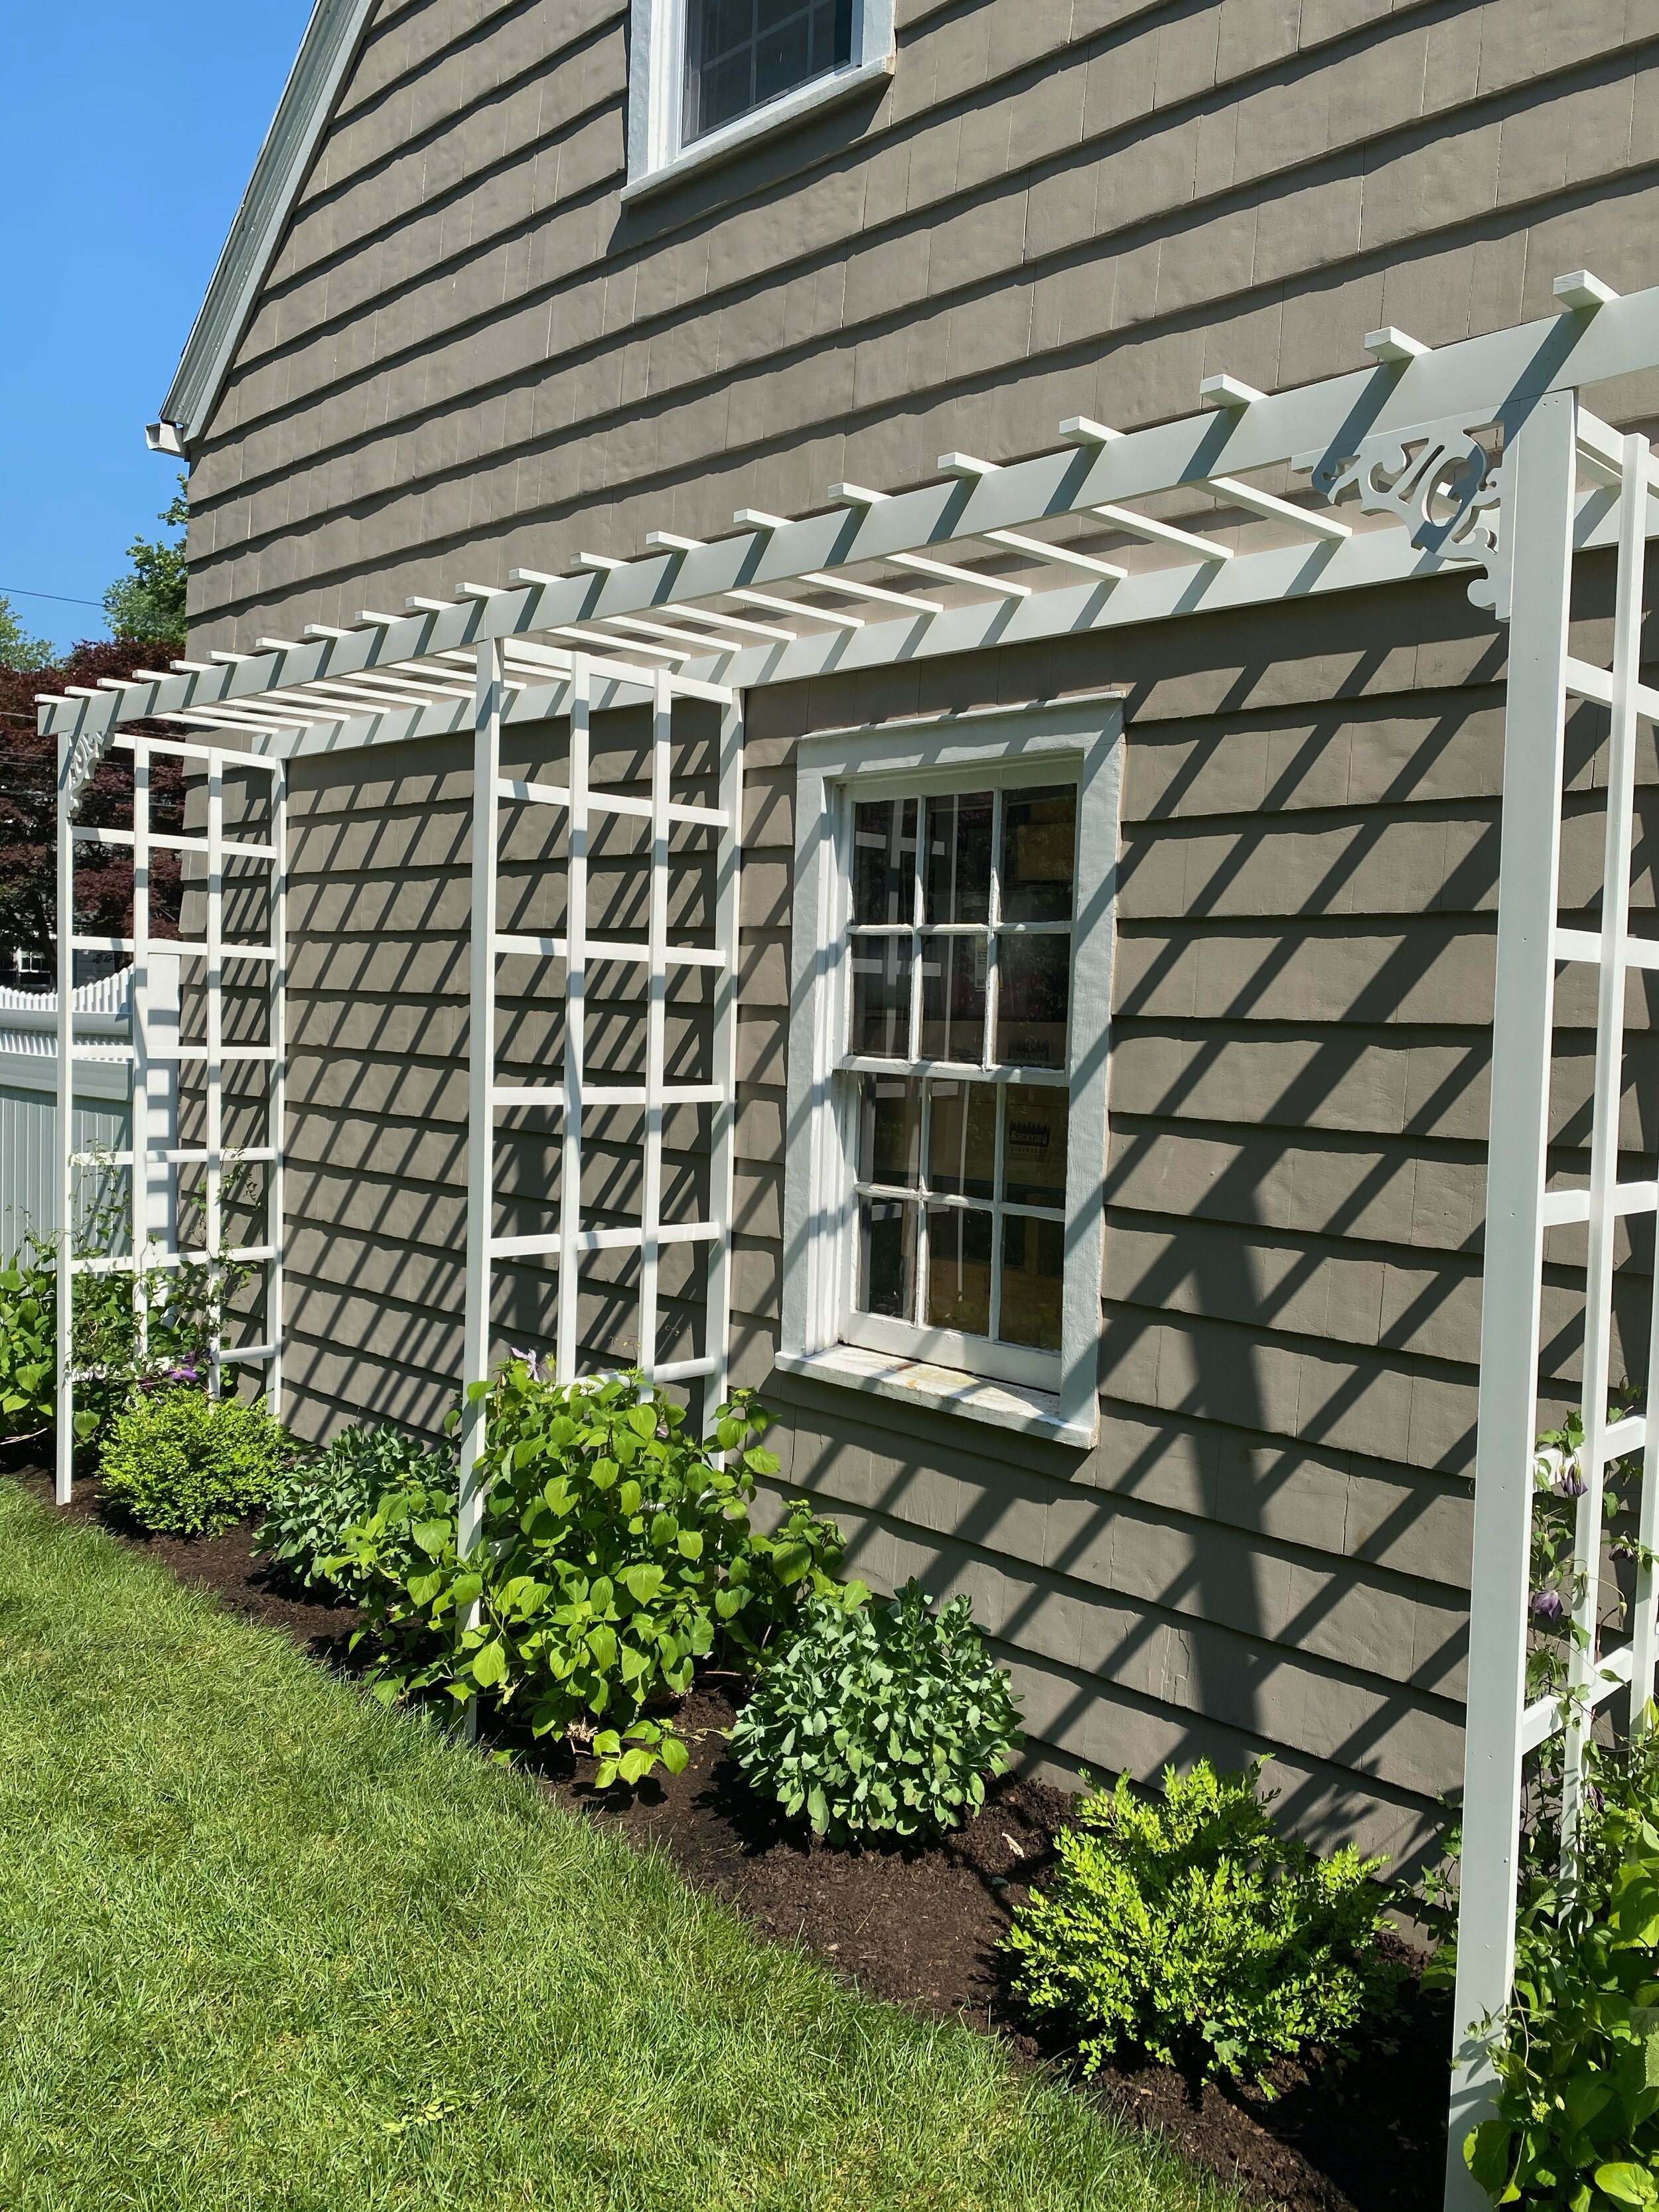
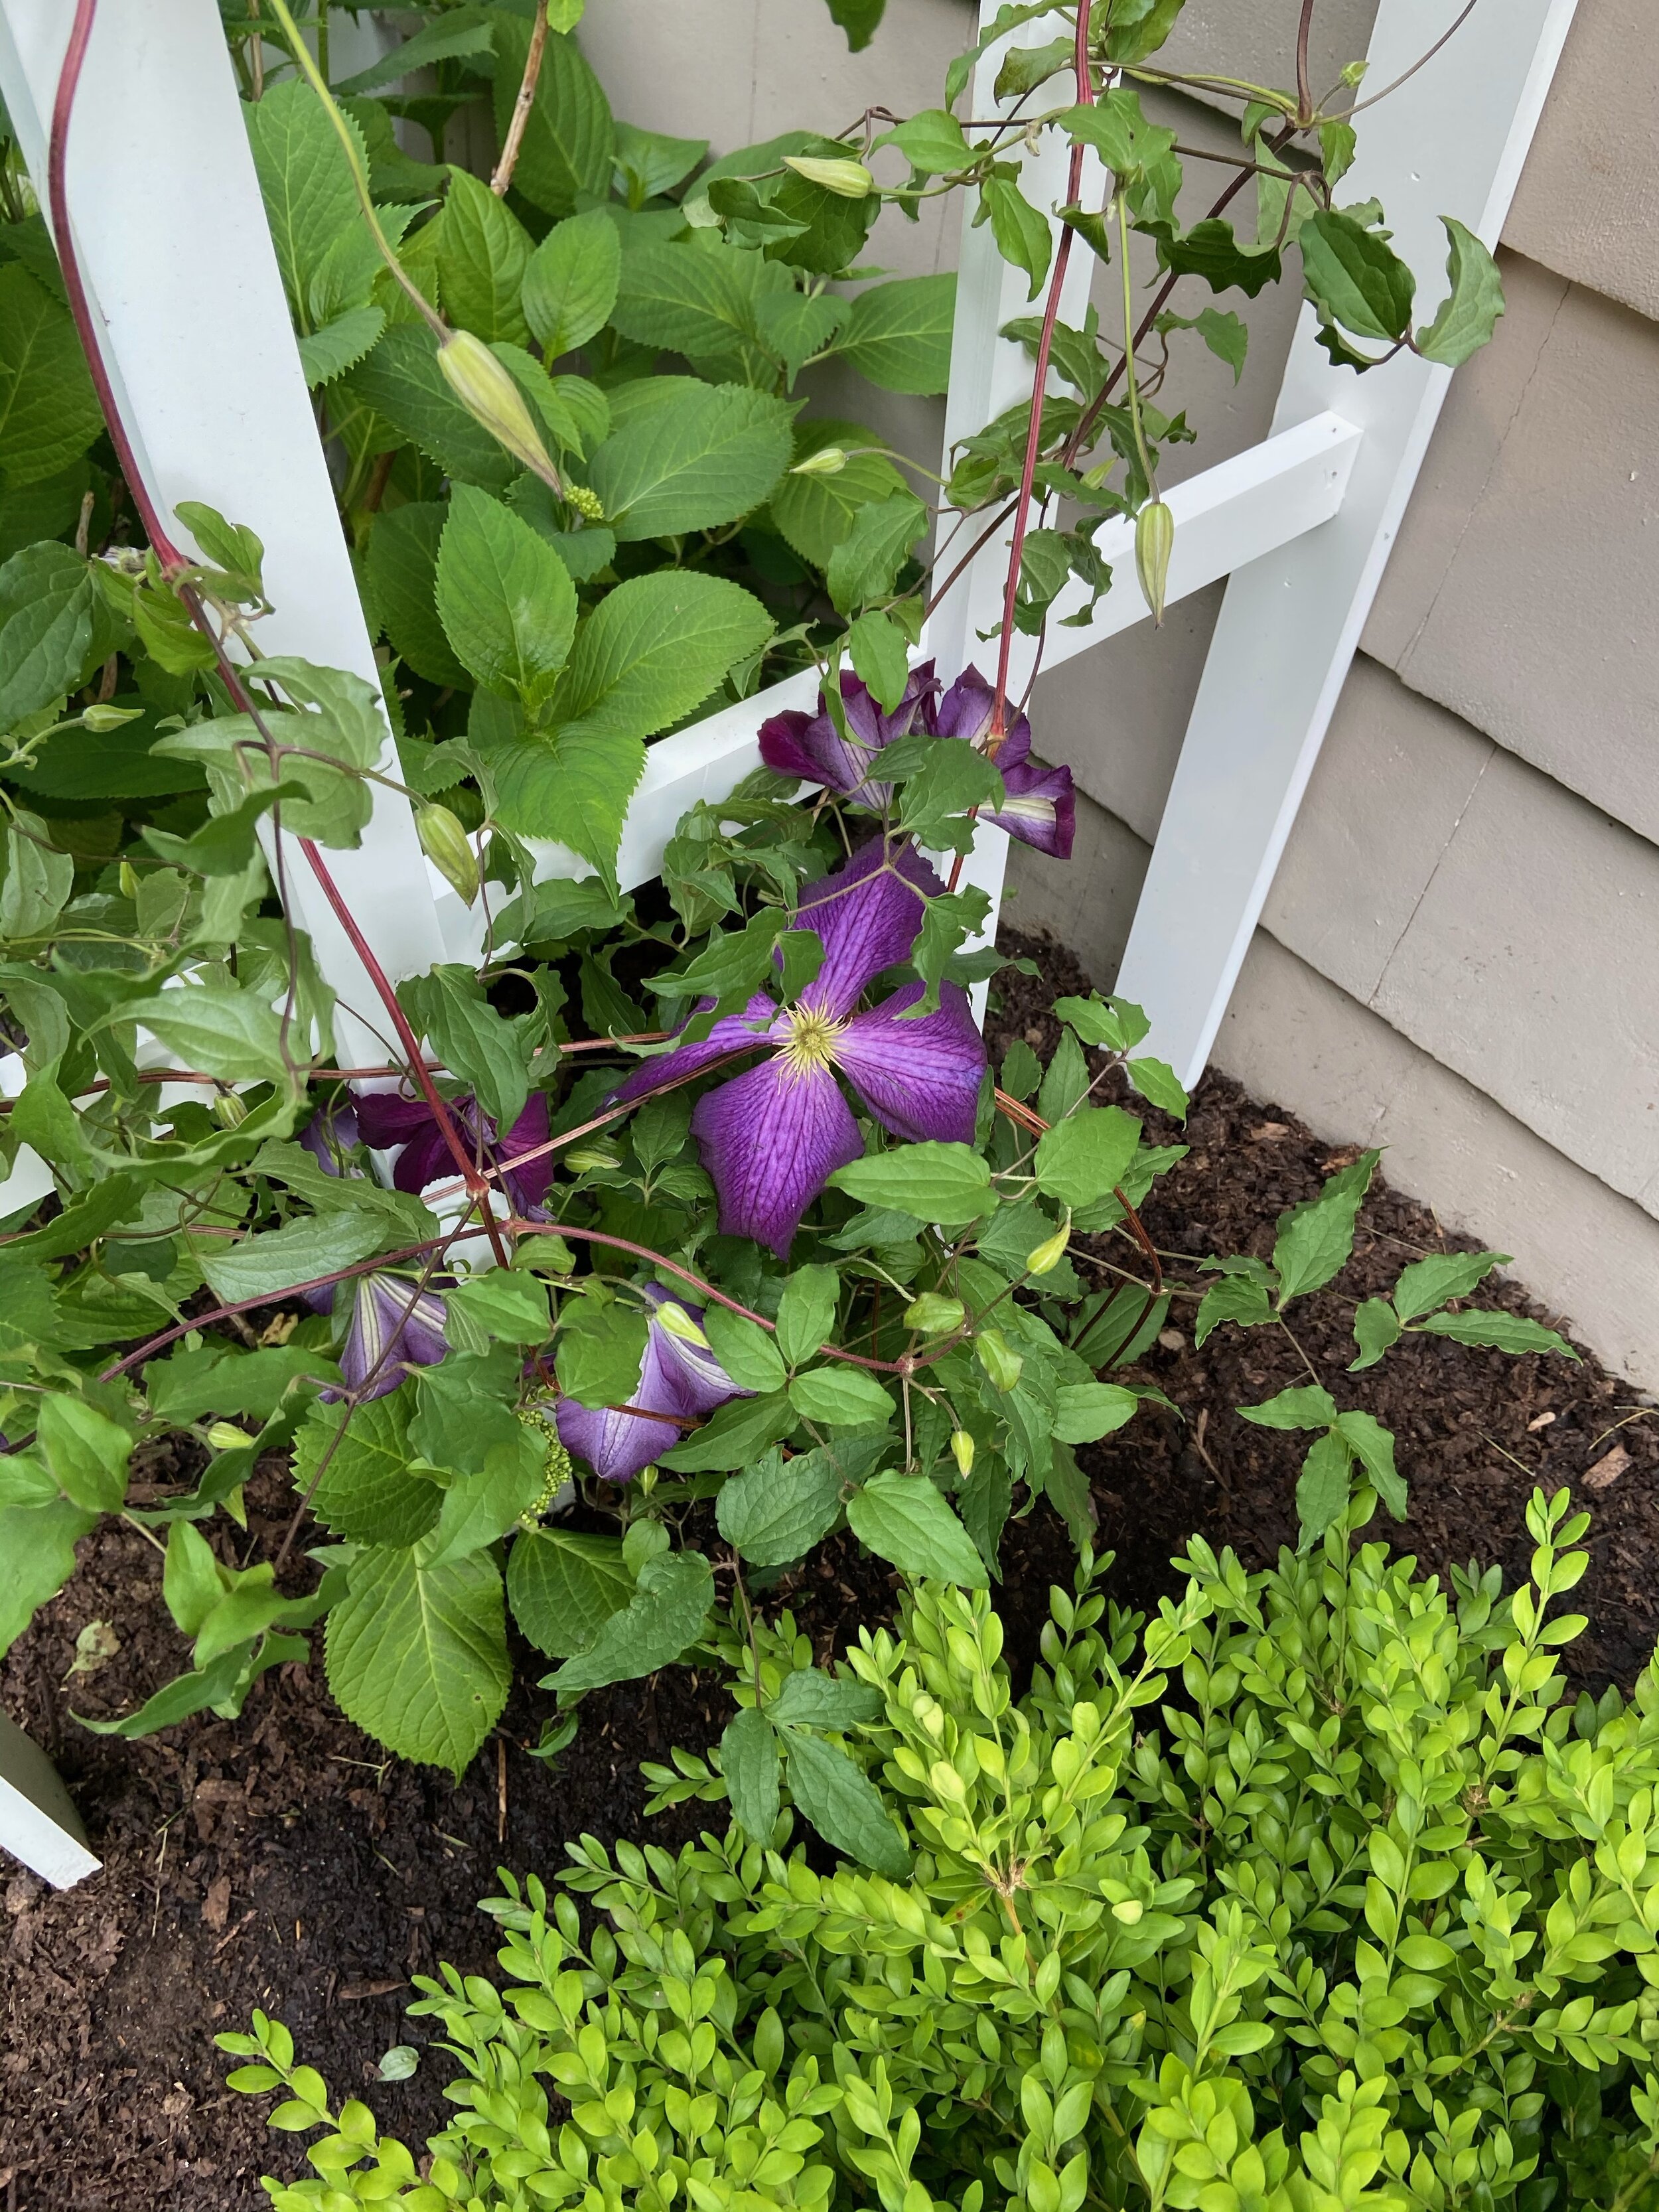
We added Clematis, a climbing, flowering vine to it and absolutely love it! Good luck and happy building!