DIY CHALK PAINT PROJECTS AND WHERE TO FIND THEM
/I must start this post by explaining that I am by no means an expert on anything I speak of below. I’m just sharing what has worked for me, a novice, at painting and rehabbing furniture.
Lately, I have been obsessed with finding vintage furniture pieces and rehabbing them. I have a newfound love for this process and I have to say it is so much easier than I perceived it to be. You do NOT have to be any type of expert at this. If I can do it, I promise you can do it and I have to admit, I’m hooked. I find it an inexpensive way to be super creative and when I am done I feel so proud and such a sense of accomplishment!
For all of my projects, I began by scouring Facebook Marketplace! You would be amazed at the vintage pieces you can find for such incredible prices on here. One tip – don’t be afraid to negotiate. Offer what you consider a fair price and a bonus is offering to pick it up that day. Most of the time, people want these pieces out of their homes to make way for new items or because they are moving, etc…Another tip, be consistent. If you have a piece in mind that you are searching for, continuously search for that piece daily. I did that with these items, everyday for a couple weeks and was able to find everything I was looking for.
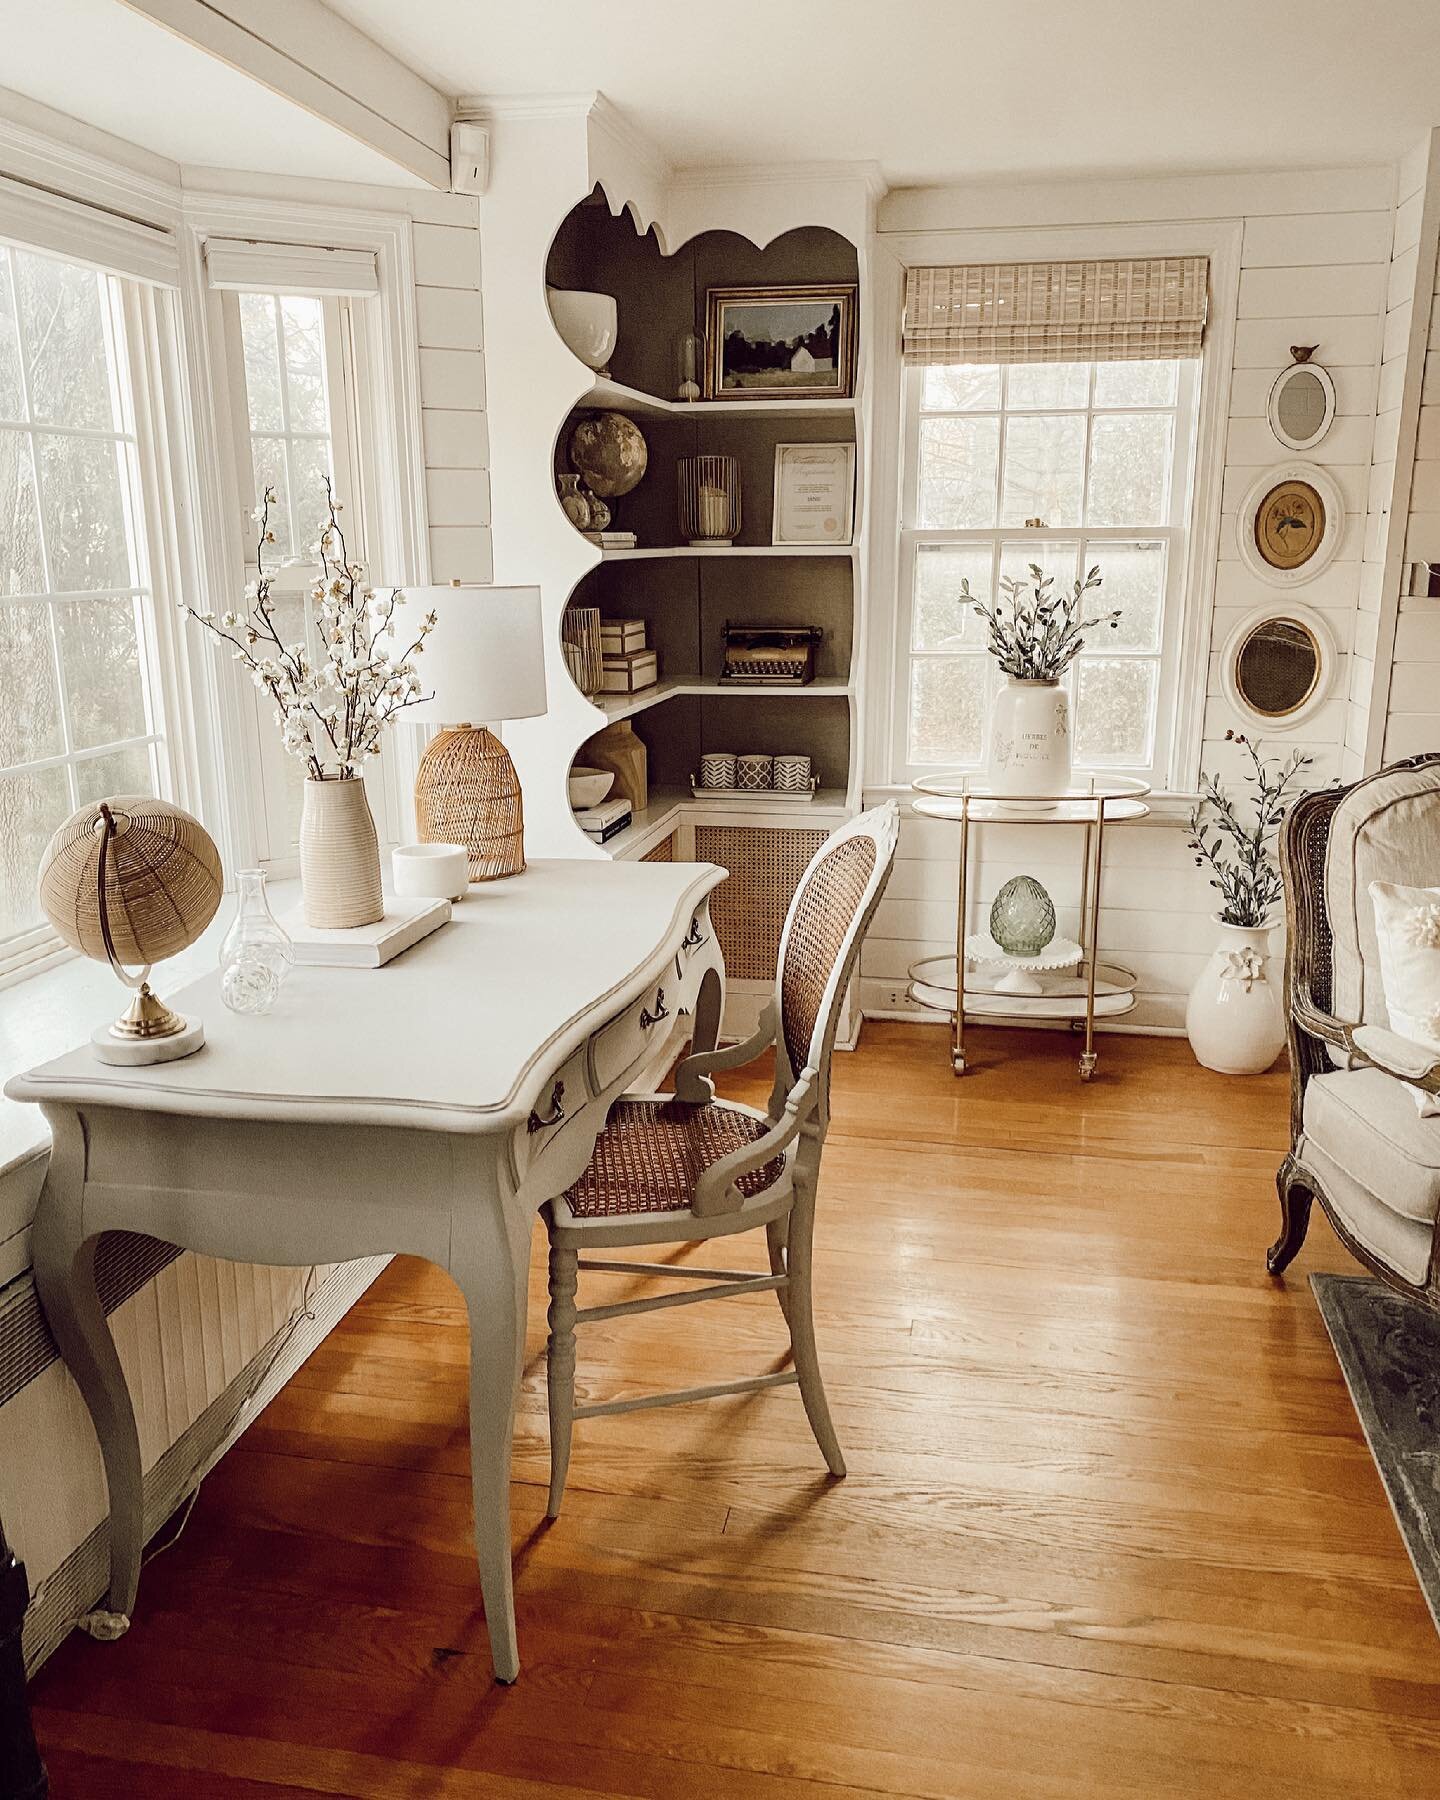
The beauty of chalk paint is that prep work is non existent! All you have to do is start to paint! Get a drop cloth, take any drawers/hardware out and off and get started. I have used Rust-O-Leum ultra matte chalk paint in both Linen White and Aged Grey. This paint goes on smooth and is amazing. In all cases, I have used two coats to get the complete coverage needed. This is a great painting set to get you started, because it has the tray, brush and roller. We were able to use a roller on a lot of areas on each of the pieces we painted. This saved time and provided great coverage! To add interest on one piece – a secretary desk that was rather plain, I added these these and this this before painting.
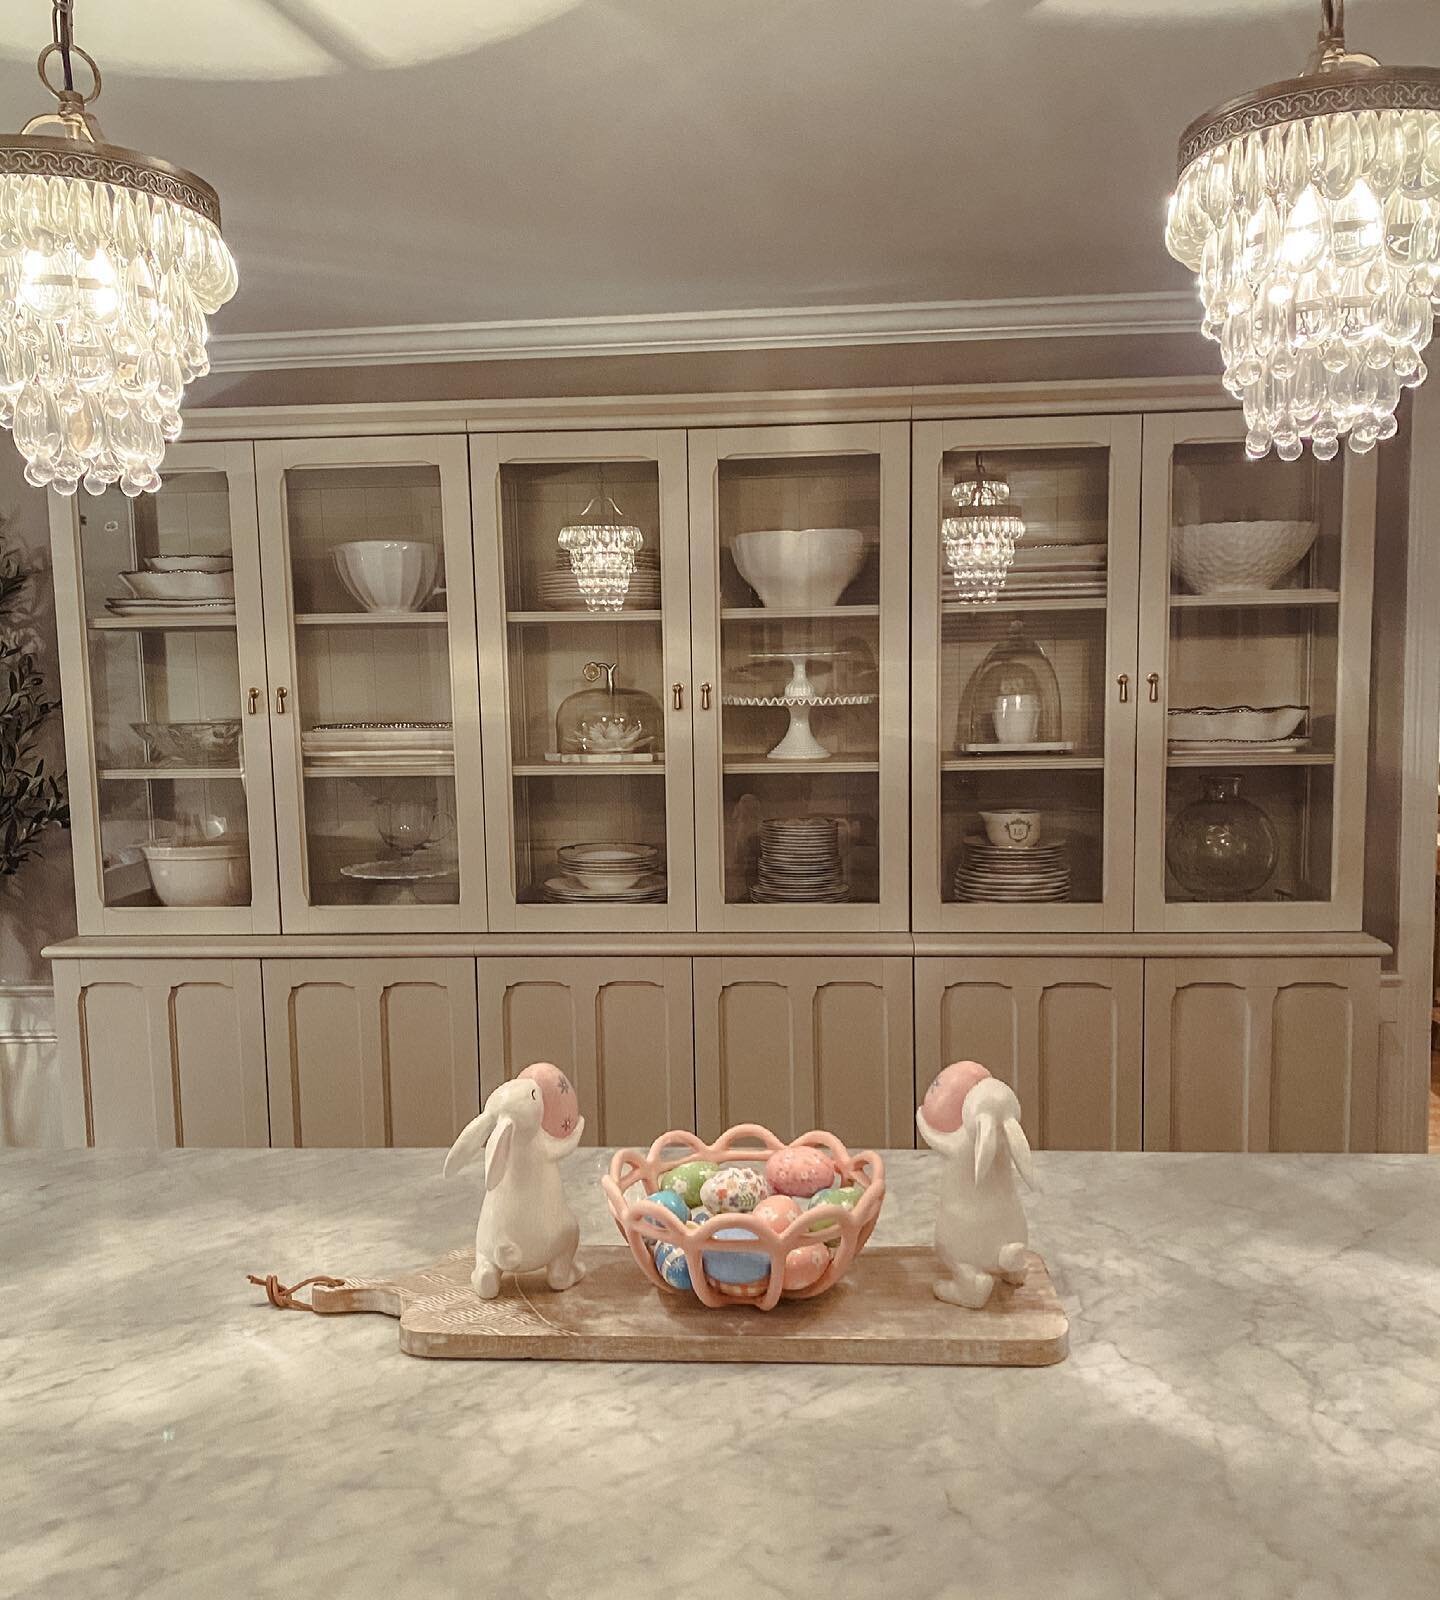
Now for distressing…the very word scared me so much…until I just dove in. Then it became a fun challenge! Again, a novice at this too, I had no idea what I was doing! I studied some pieces that had been distressed on Instagram and realized that it’s best to distress areas that would get traffic, corners, edges and any detailed trim work you want highlighted. Paint can tend to cover up the details of trim work, so in order to make it “pop”, you can simply distress it! I started out on a learning curve! I got these gloves to keep my hands from falling off! I began with sandpaper and quickly realized that if it was a large piece, that was not going to cut it! I ended up using and really liking these sandpaper blocks. I try to wait a day before distressing, though sometimes my excitement, coupled with my impulsivity, do not allow me! These may not be the most cost effective way, but to me, they are the easiest and most comfortable. Make sure you are sanding on a drop cloth, because the dust goes EVERYWHERE!!! My husband has a mini shop vac like this one which is AMAZING for cleaning up in the wake of distressing! Not all pieces need to be distressed, it’s really a personal preference. The most recent piece I did, I ended up not distressing for a more polished look.
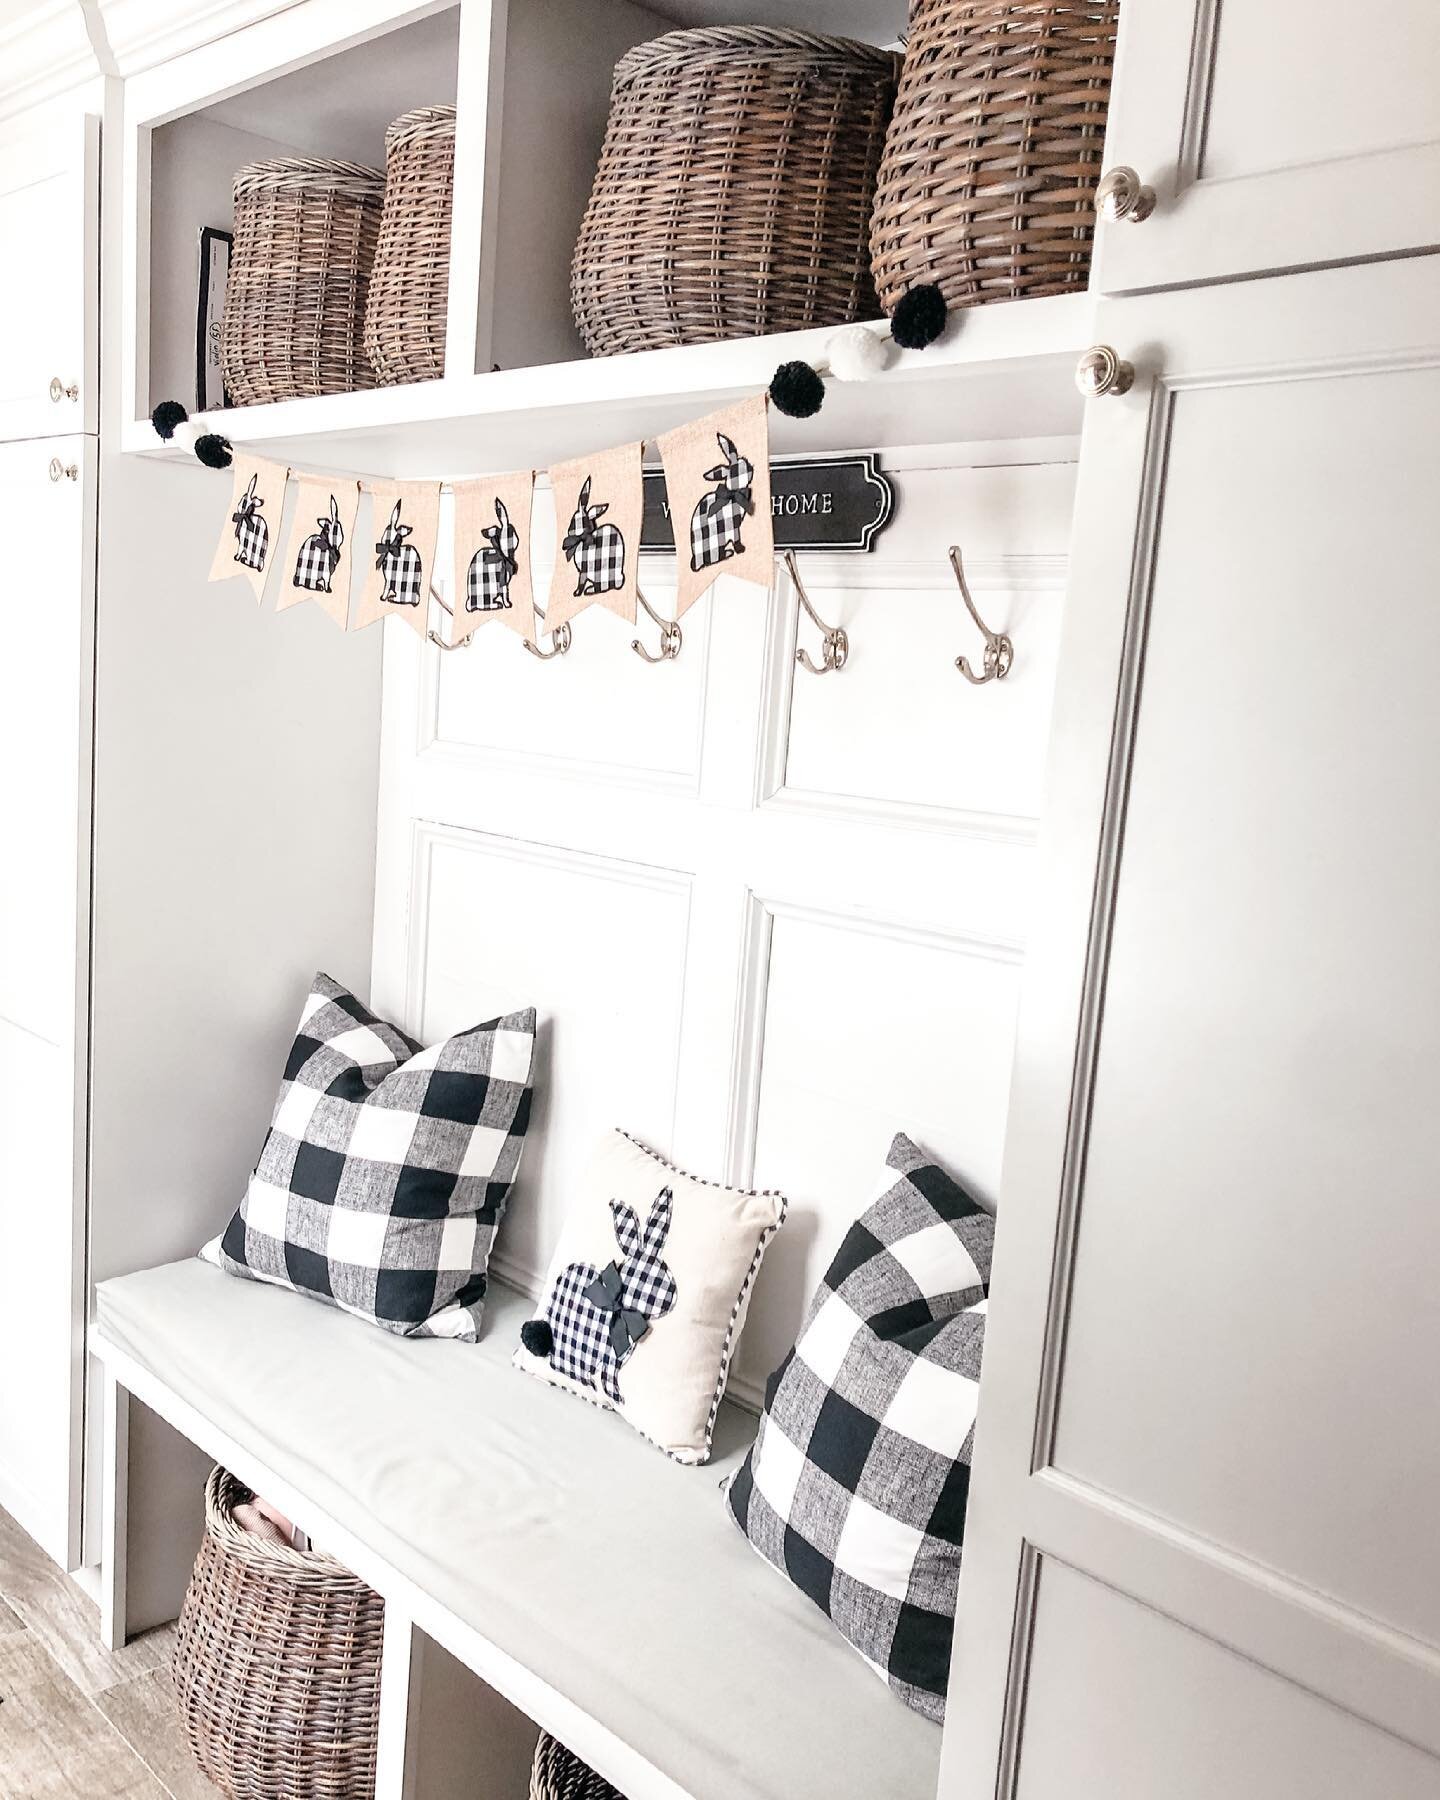
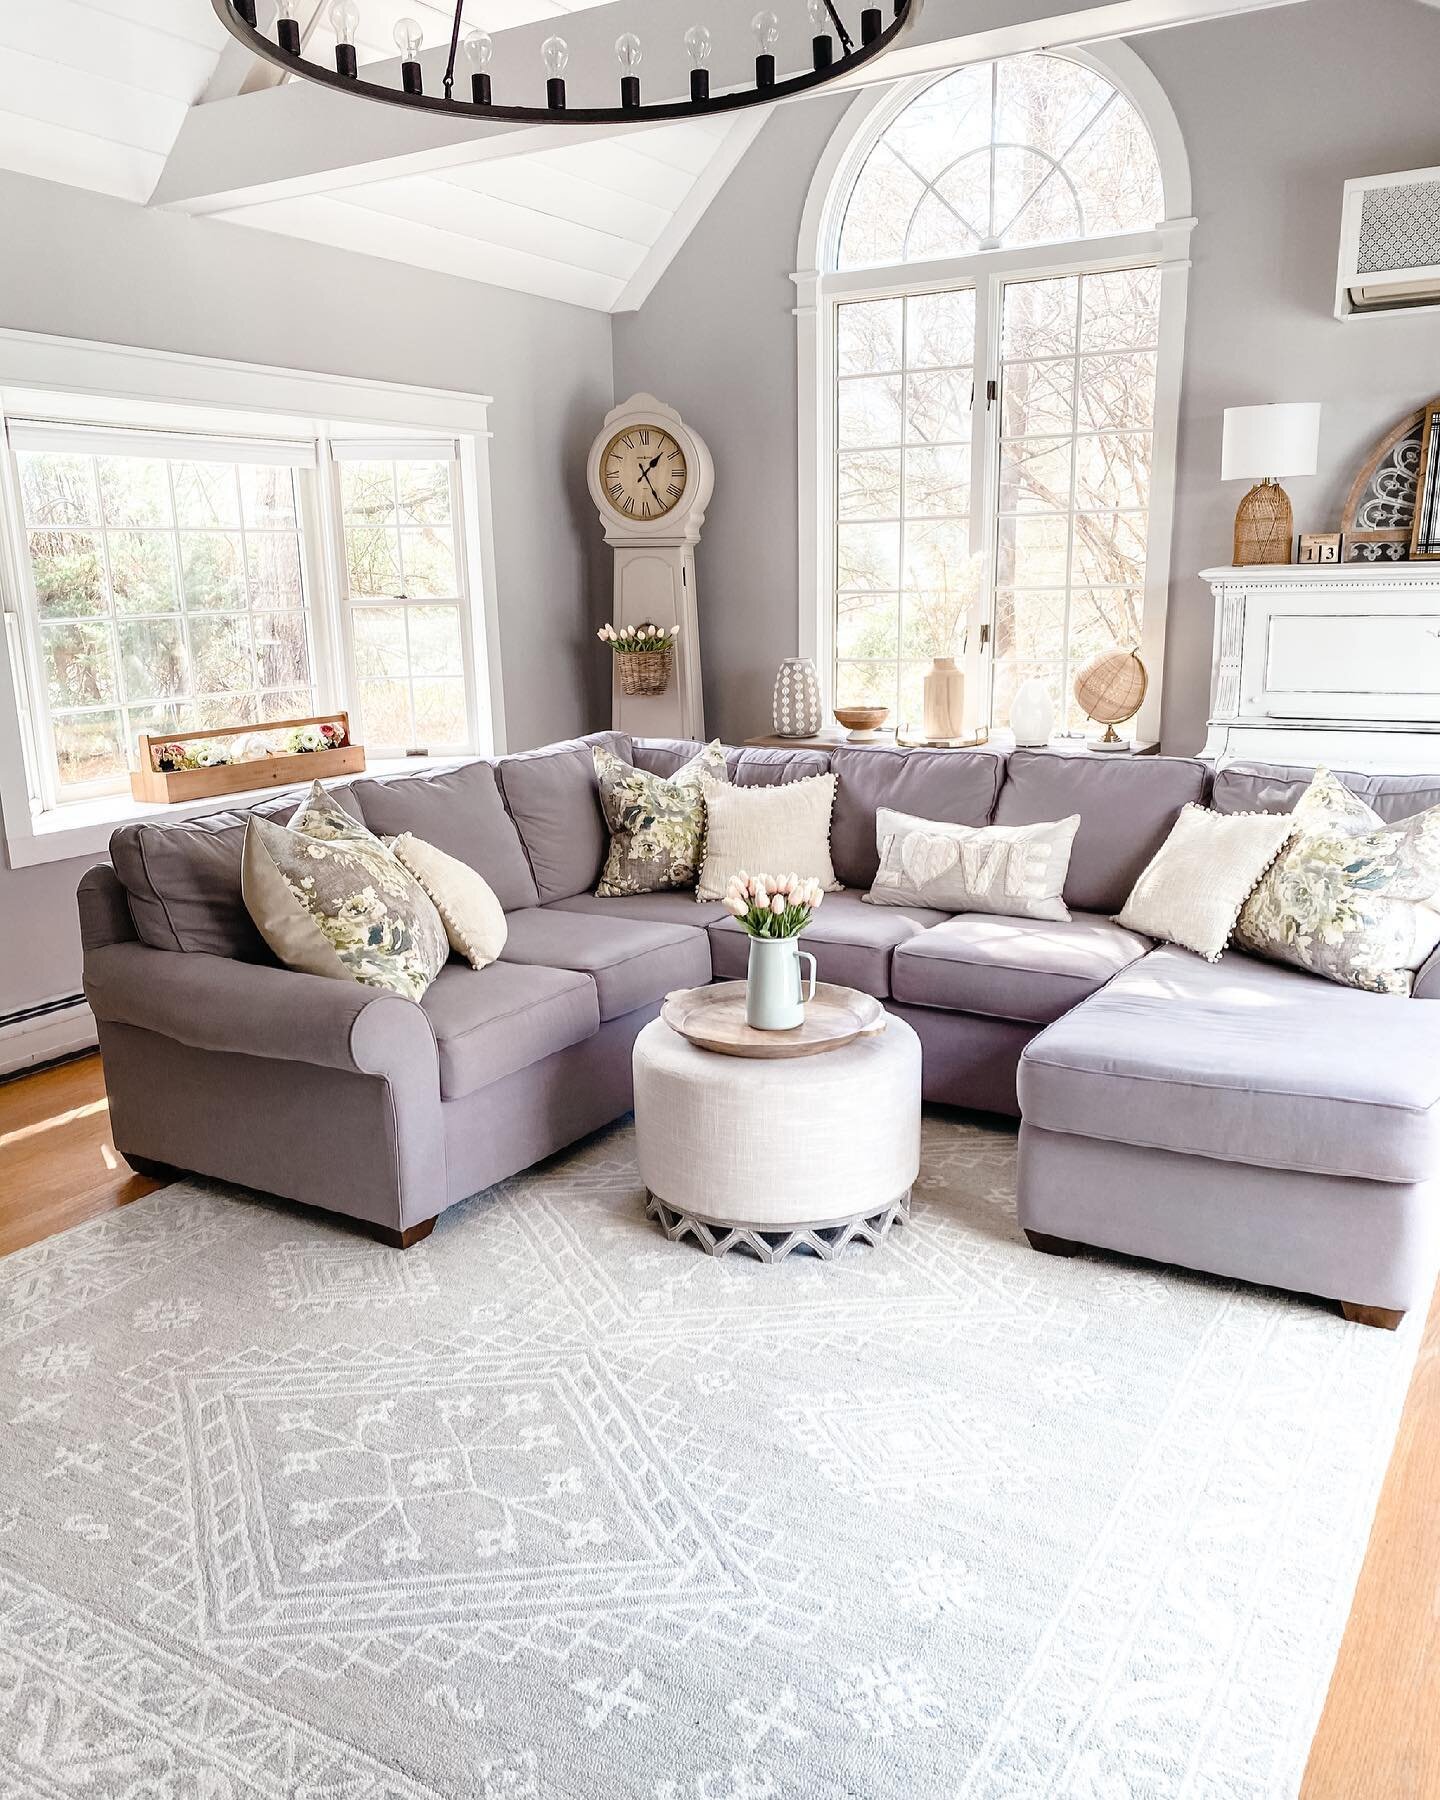
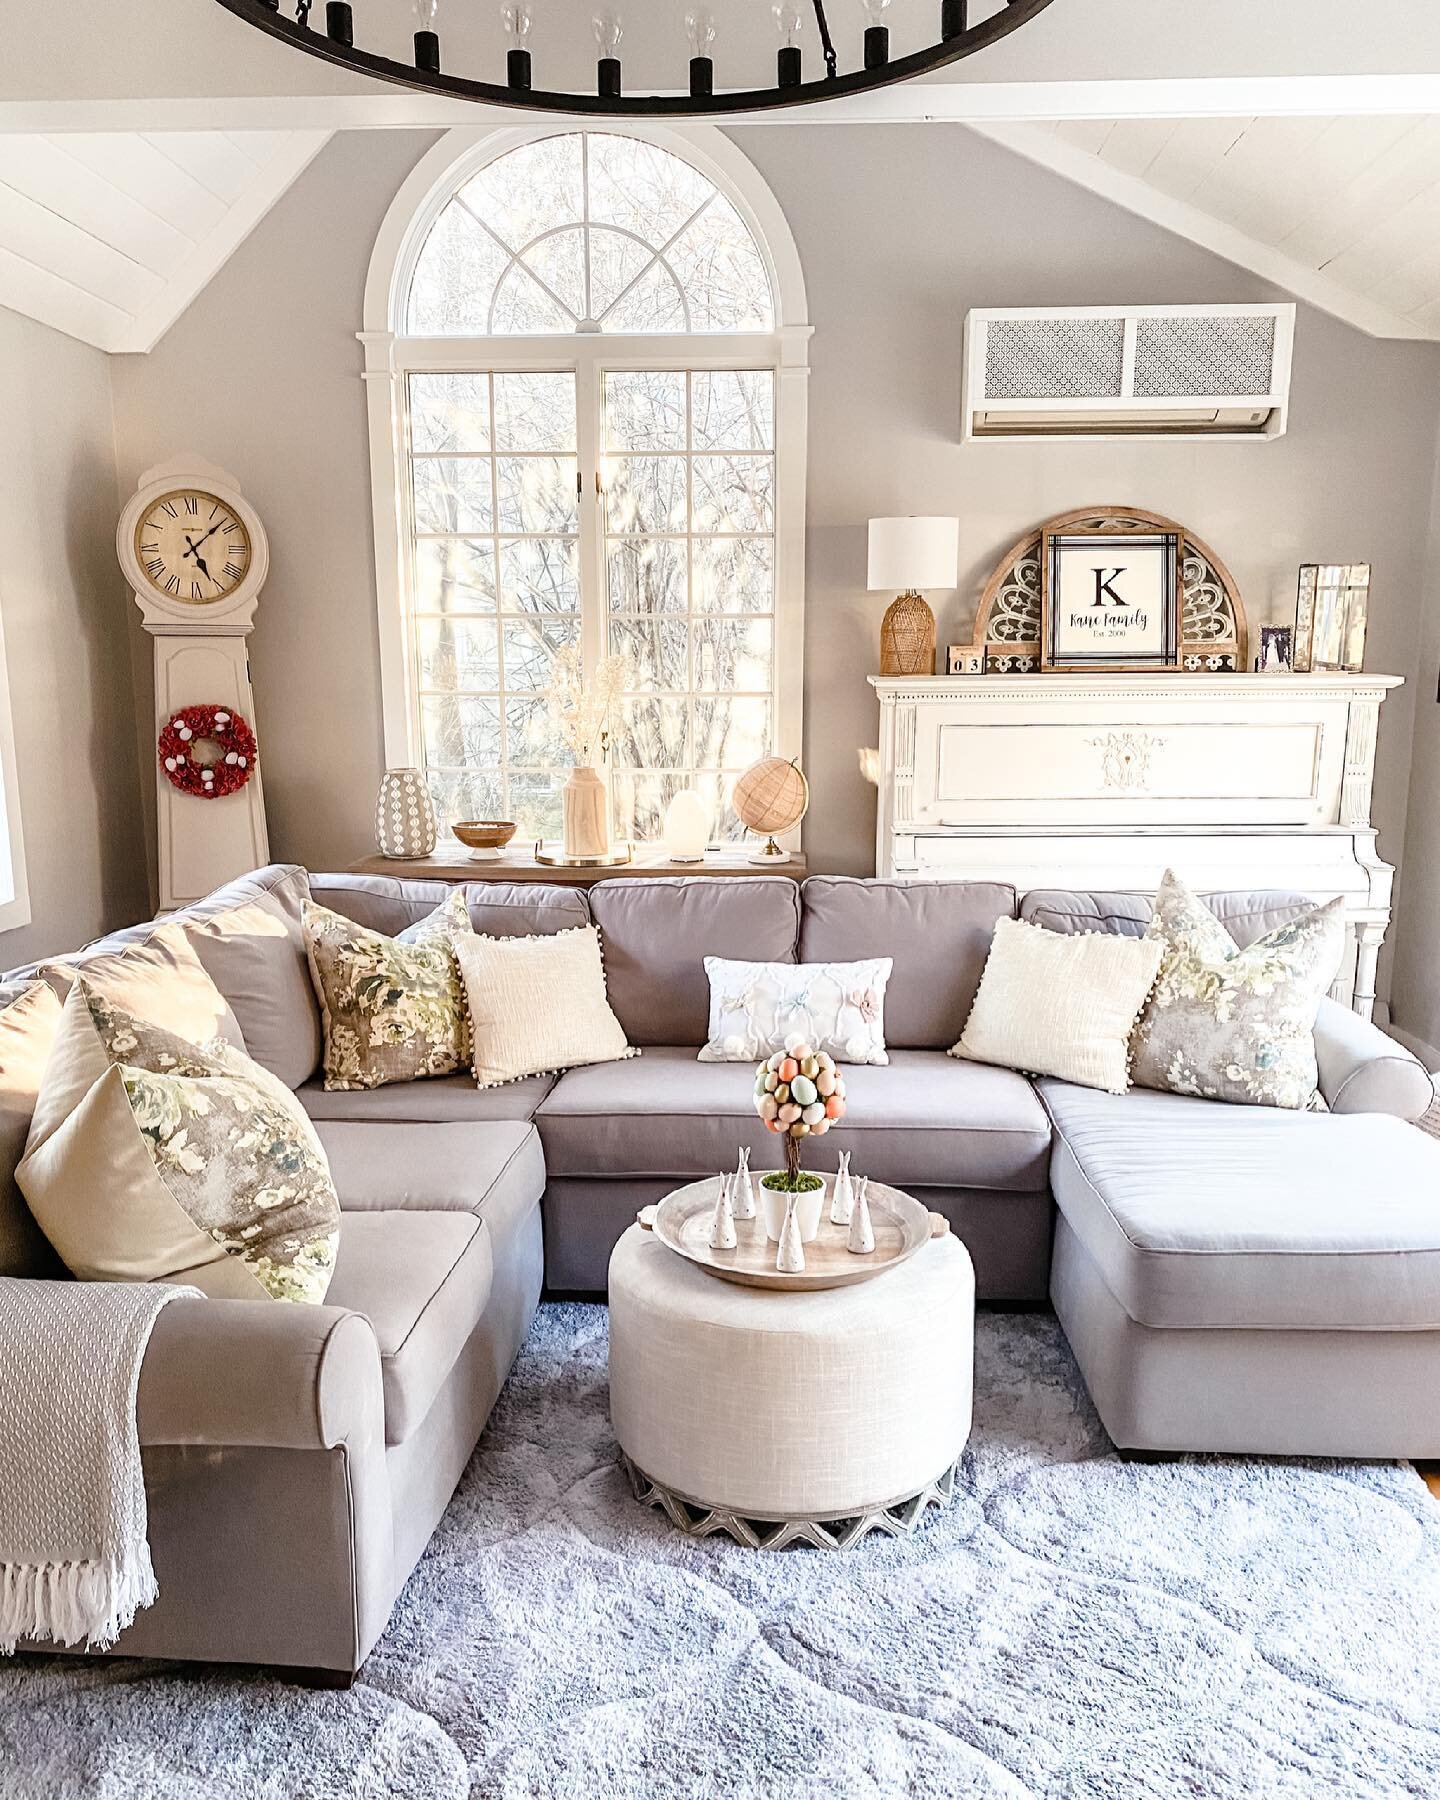
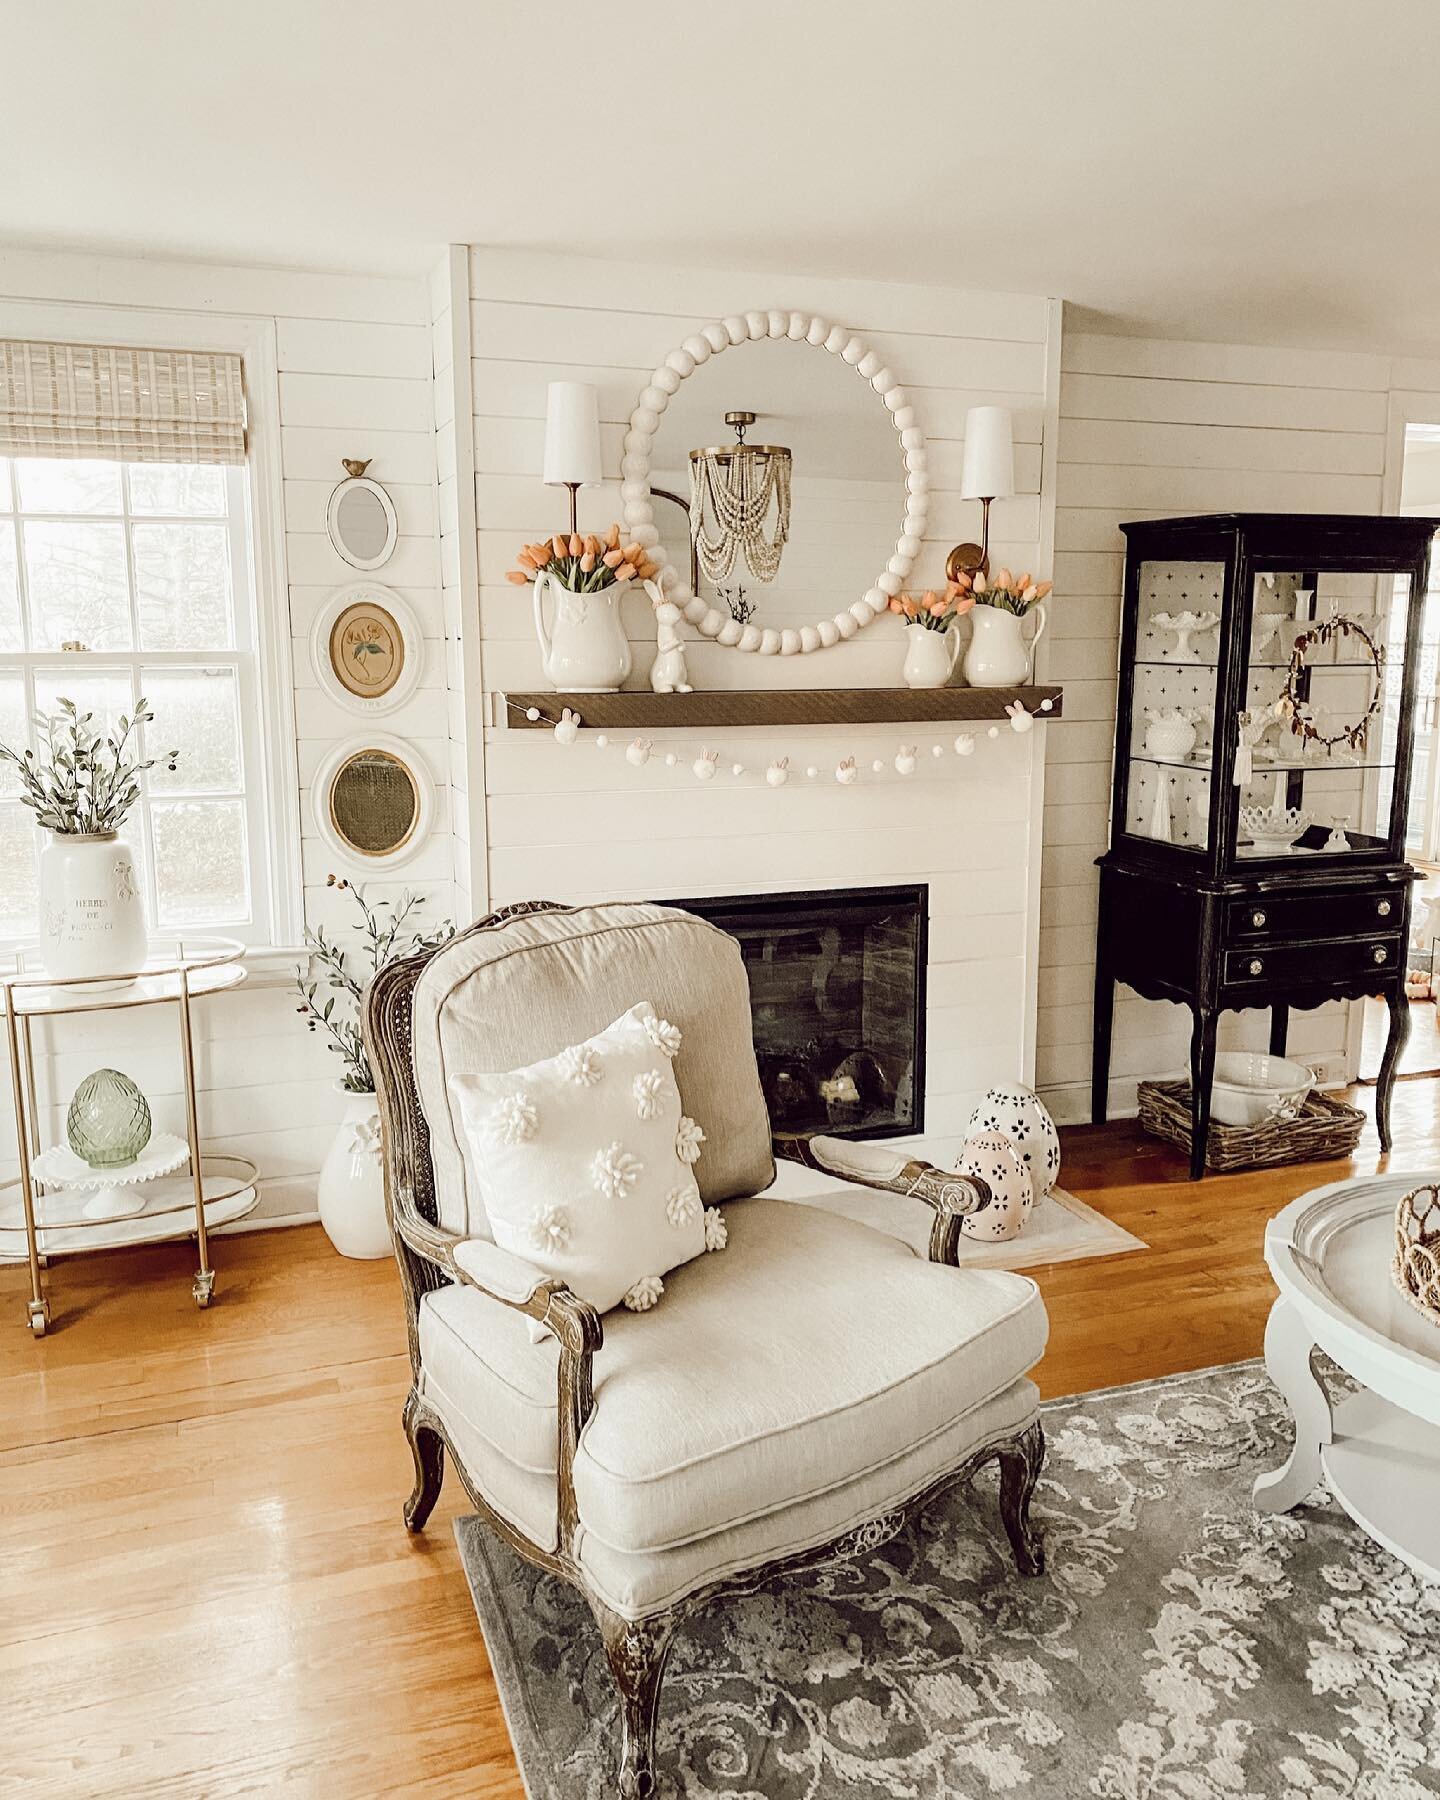
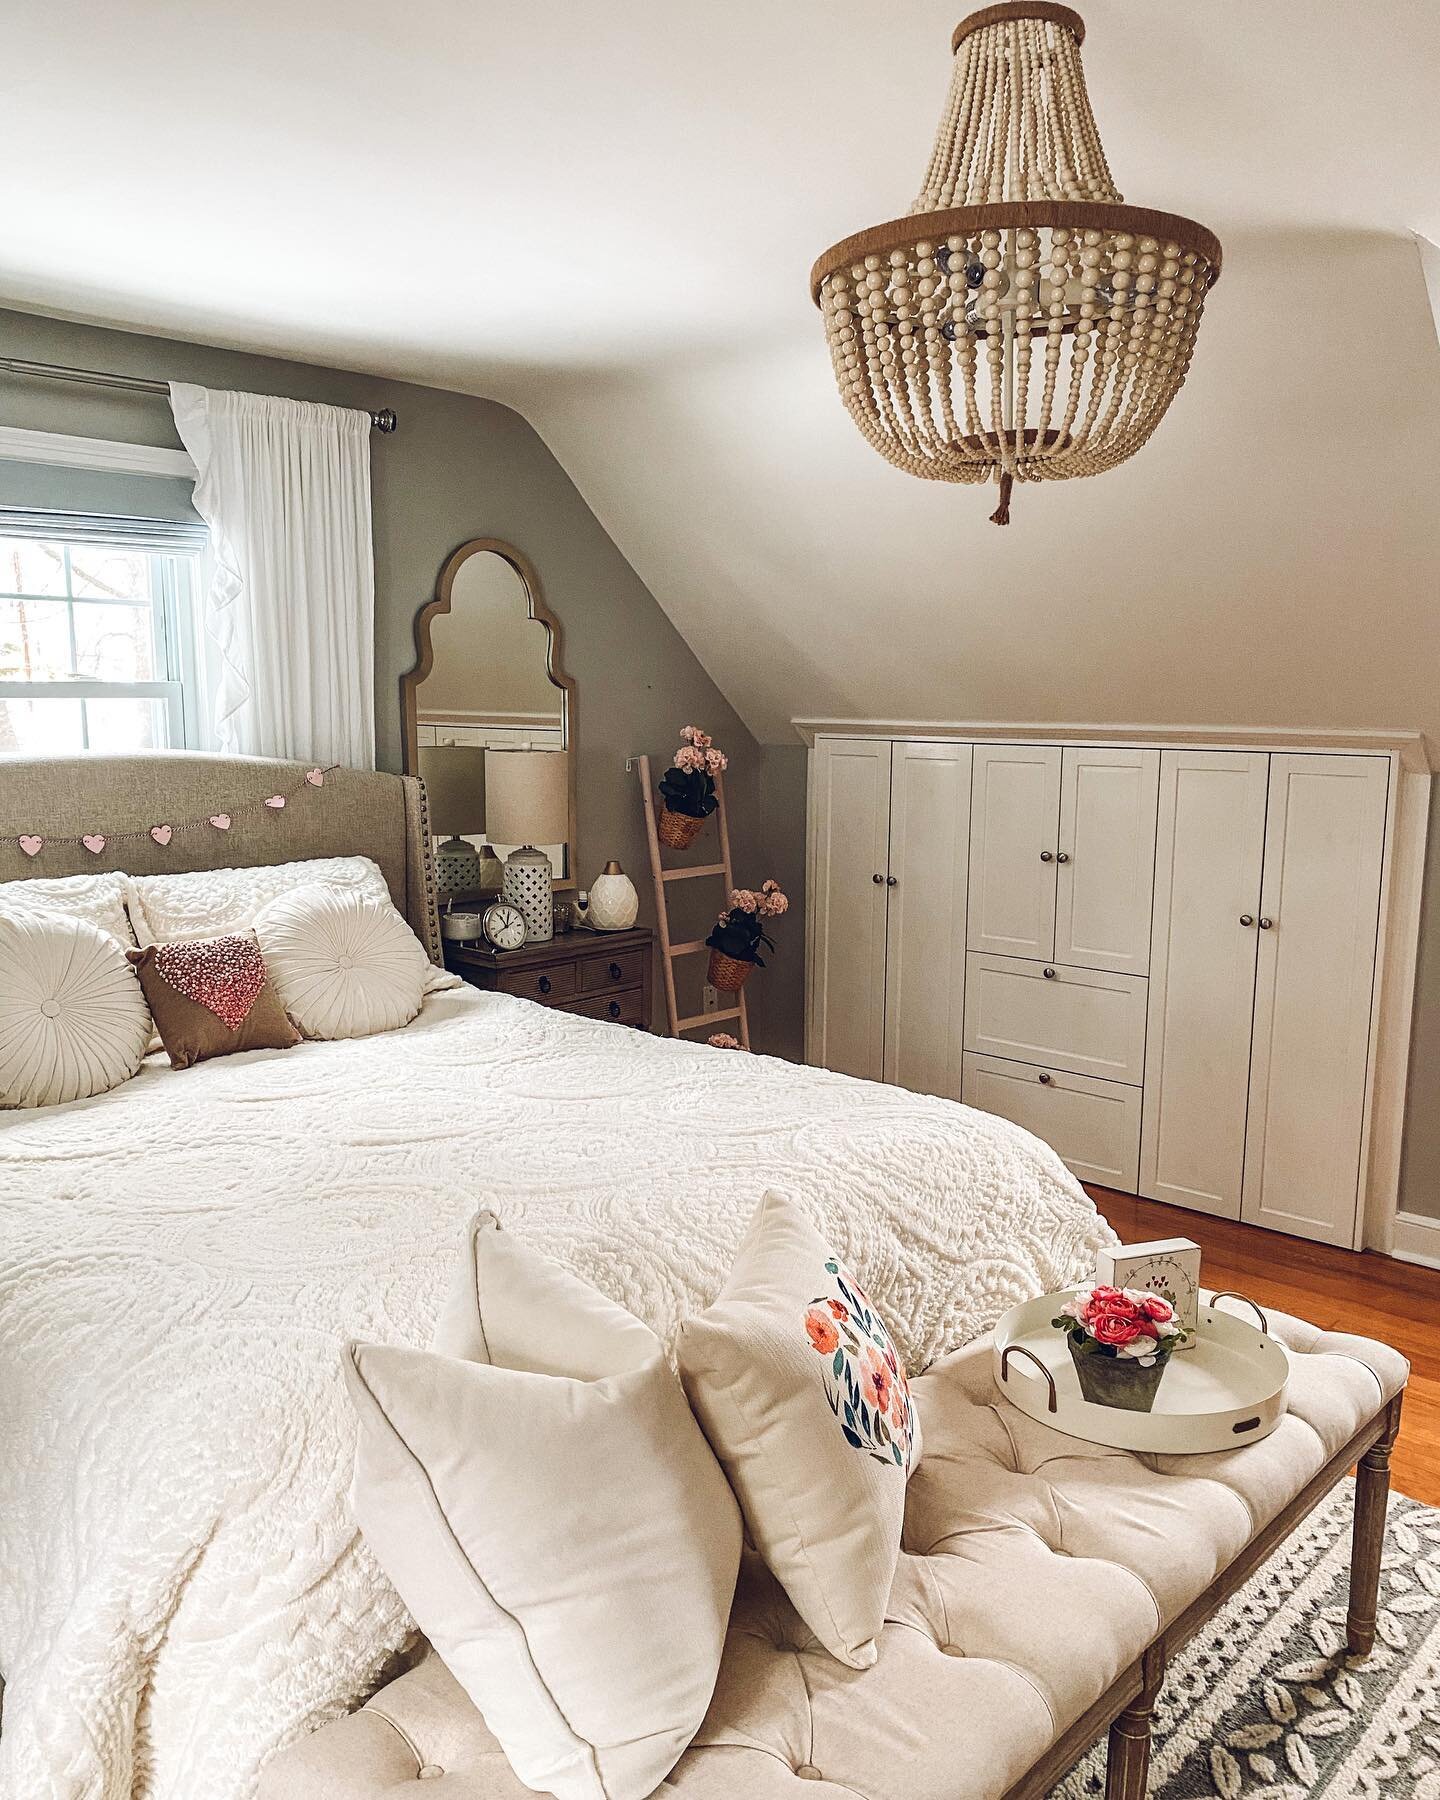
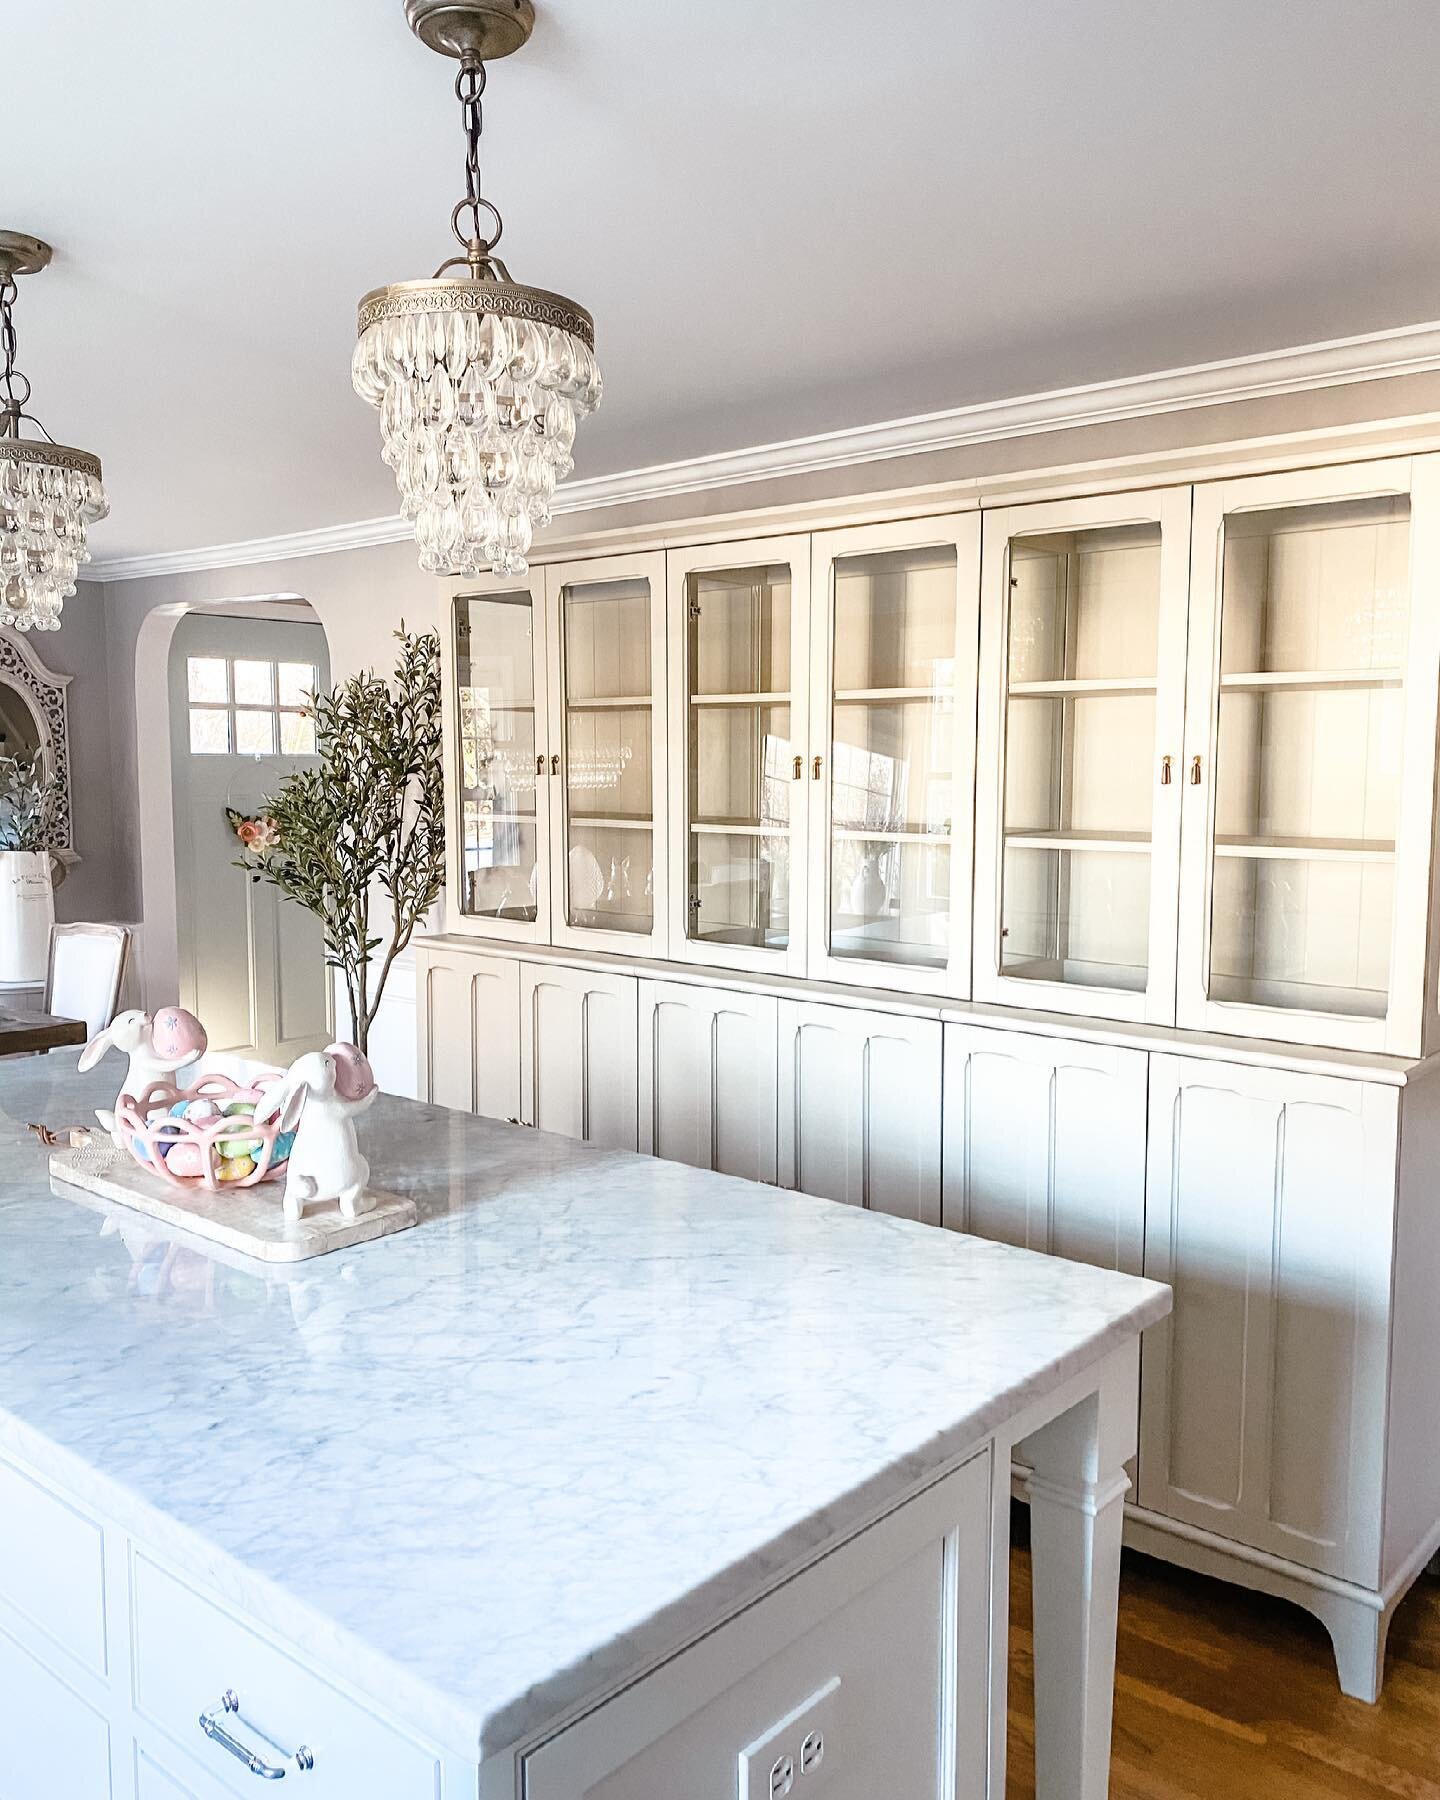
Once your project is painted and distressed, many people encourage sealing the final product with wax. It can be a clear wax, keeping the original paint color, or one with a stain color to darken the piece. I have not actually waxed any of my pieces, because they are not high traffic pieces that will be used a lot! If you are painting anything that will be getting a lot of use, I would highly recommend this. Since I have yet to use it, I don’t feel right recommending one to you, as I like to only recommend products I have tried and liked. I am sure the paint department at Home Depot can help though! I’ve included pictures of all the pieces I have painted and distressed.
My final piece of advice…take the chance, believe in yourself and your capabilities, have fun, and remember it’s just paint! If you don’t like it, you can always paint it again! Good luck, YOU CAN DO THIS!!!!