DIY Hallway Renovation
/
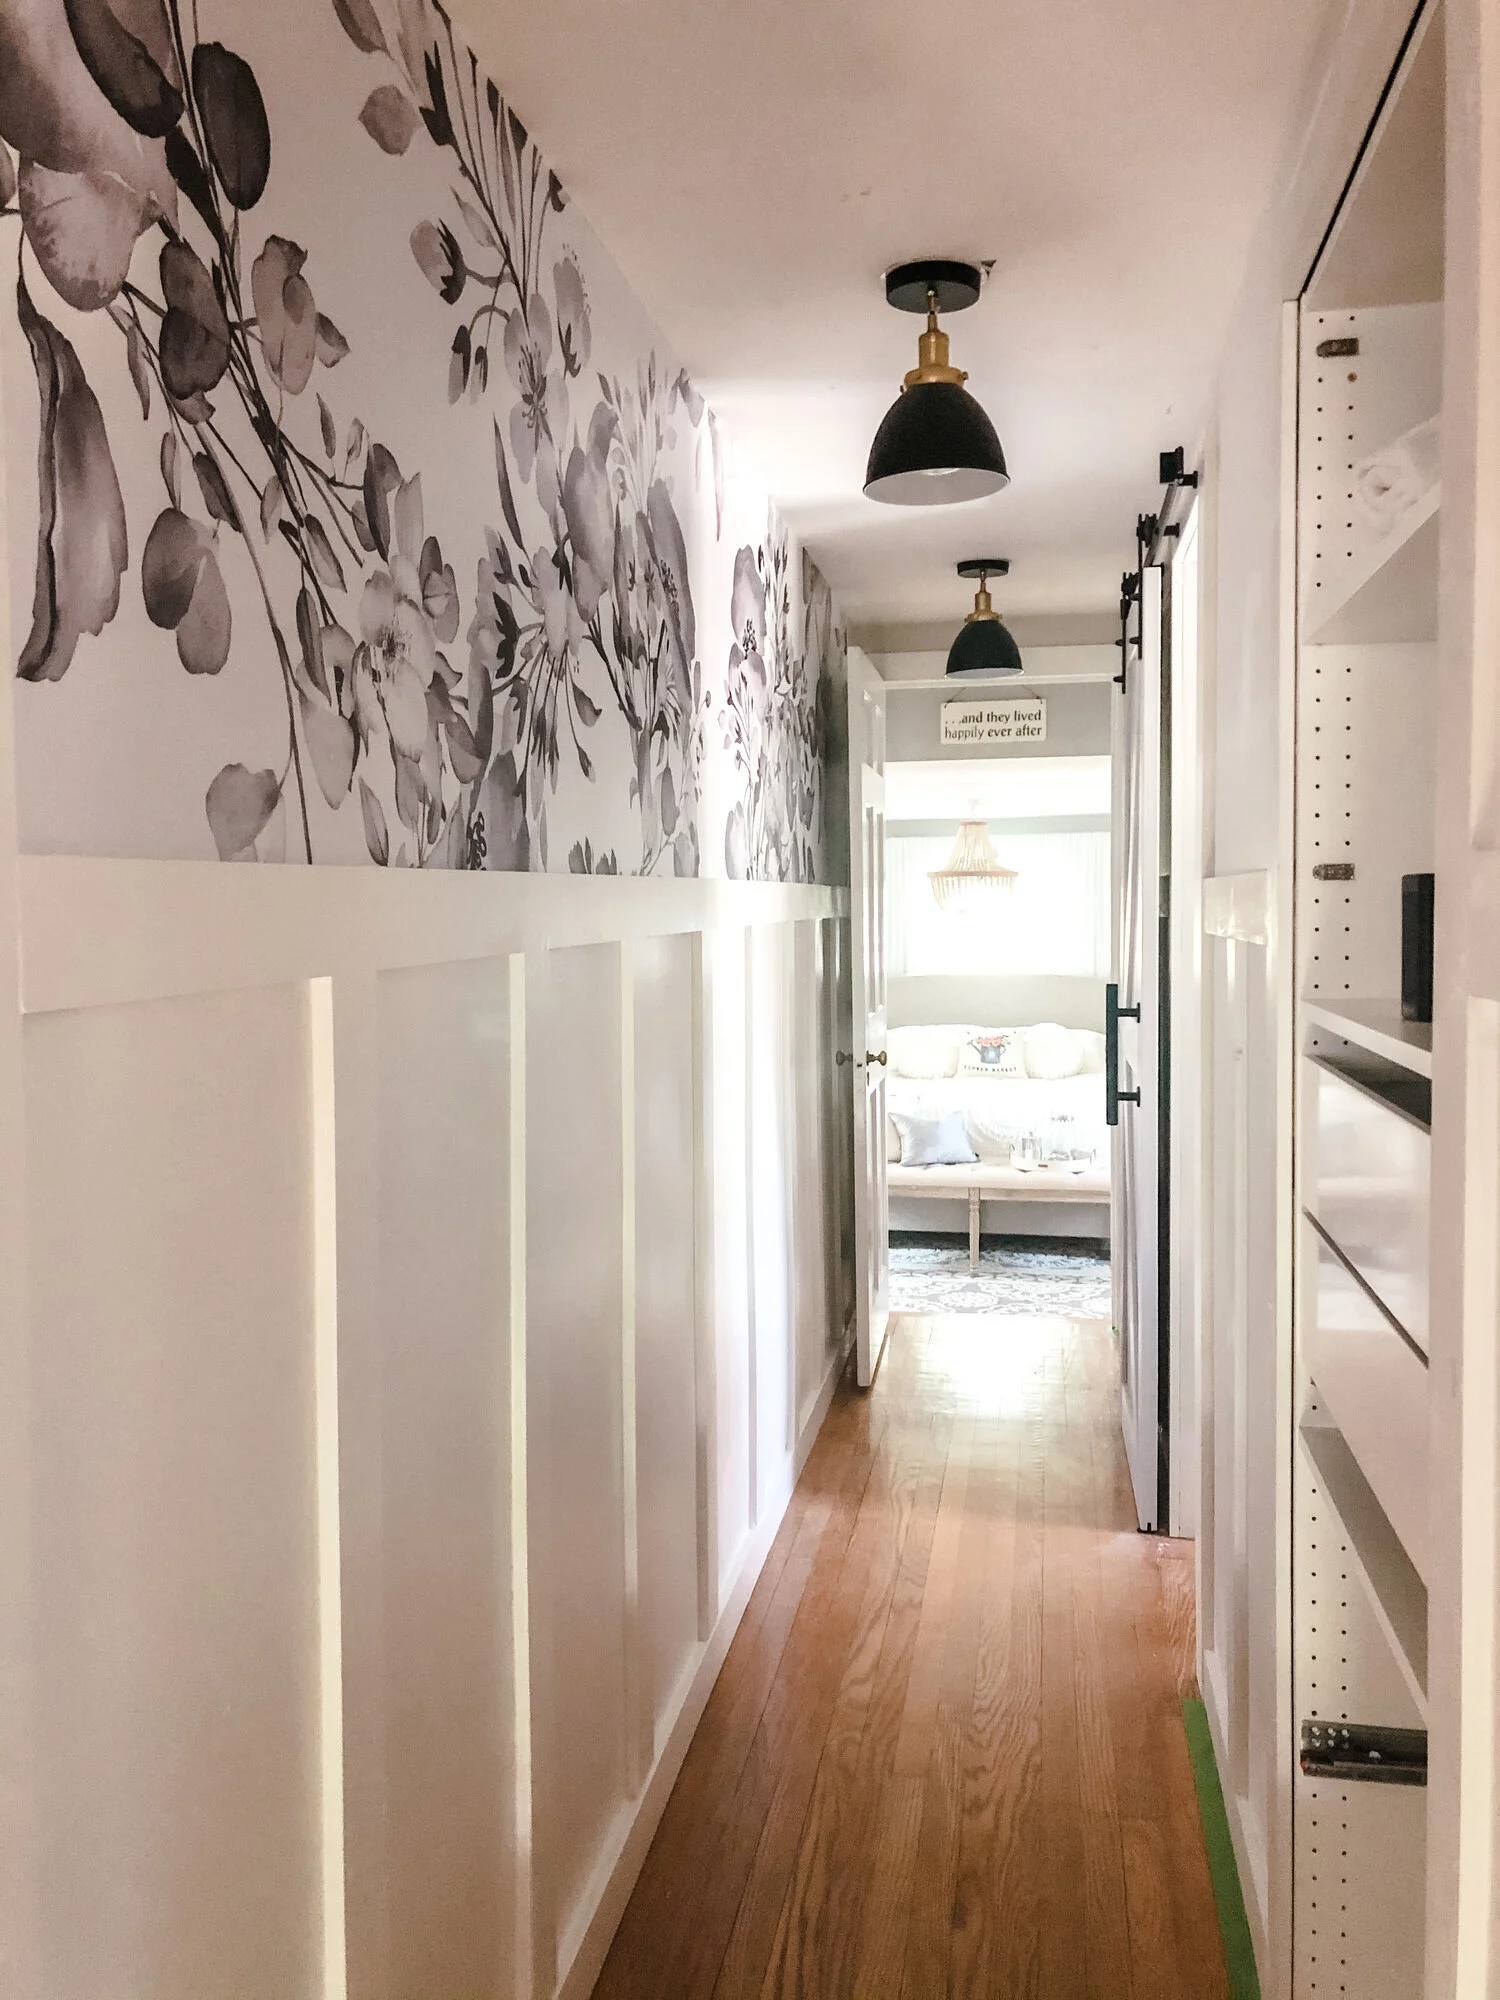
It’s done, it’s finally done and oh how we love it!!! We took our plain and boring upstairs hallway from drab to fab with peel and stick wallpaper, a little paint, new lights and some MDF board and batten! I will share here the cost, process and lots of before and after pictures! For reference, the hallway measures 17 feet long! To start, we switched out the recessed lights for some beautiful matte black pendant lights from Pier 1, that are unfortunately out of stock right now.
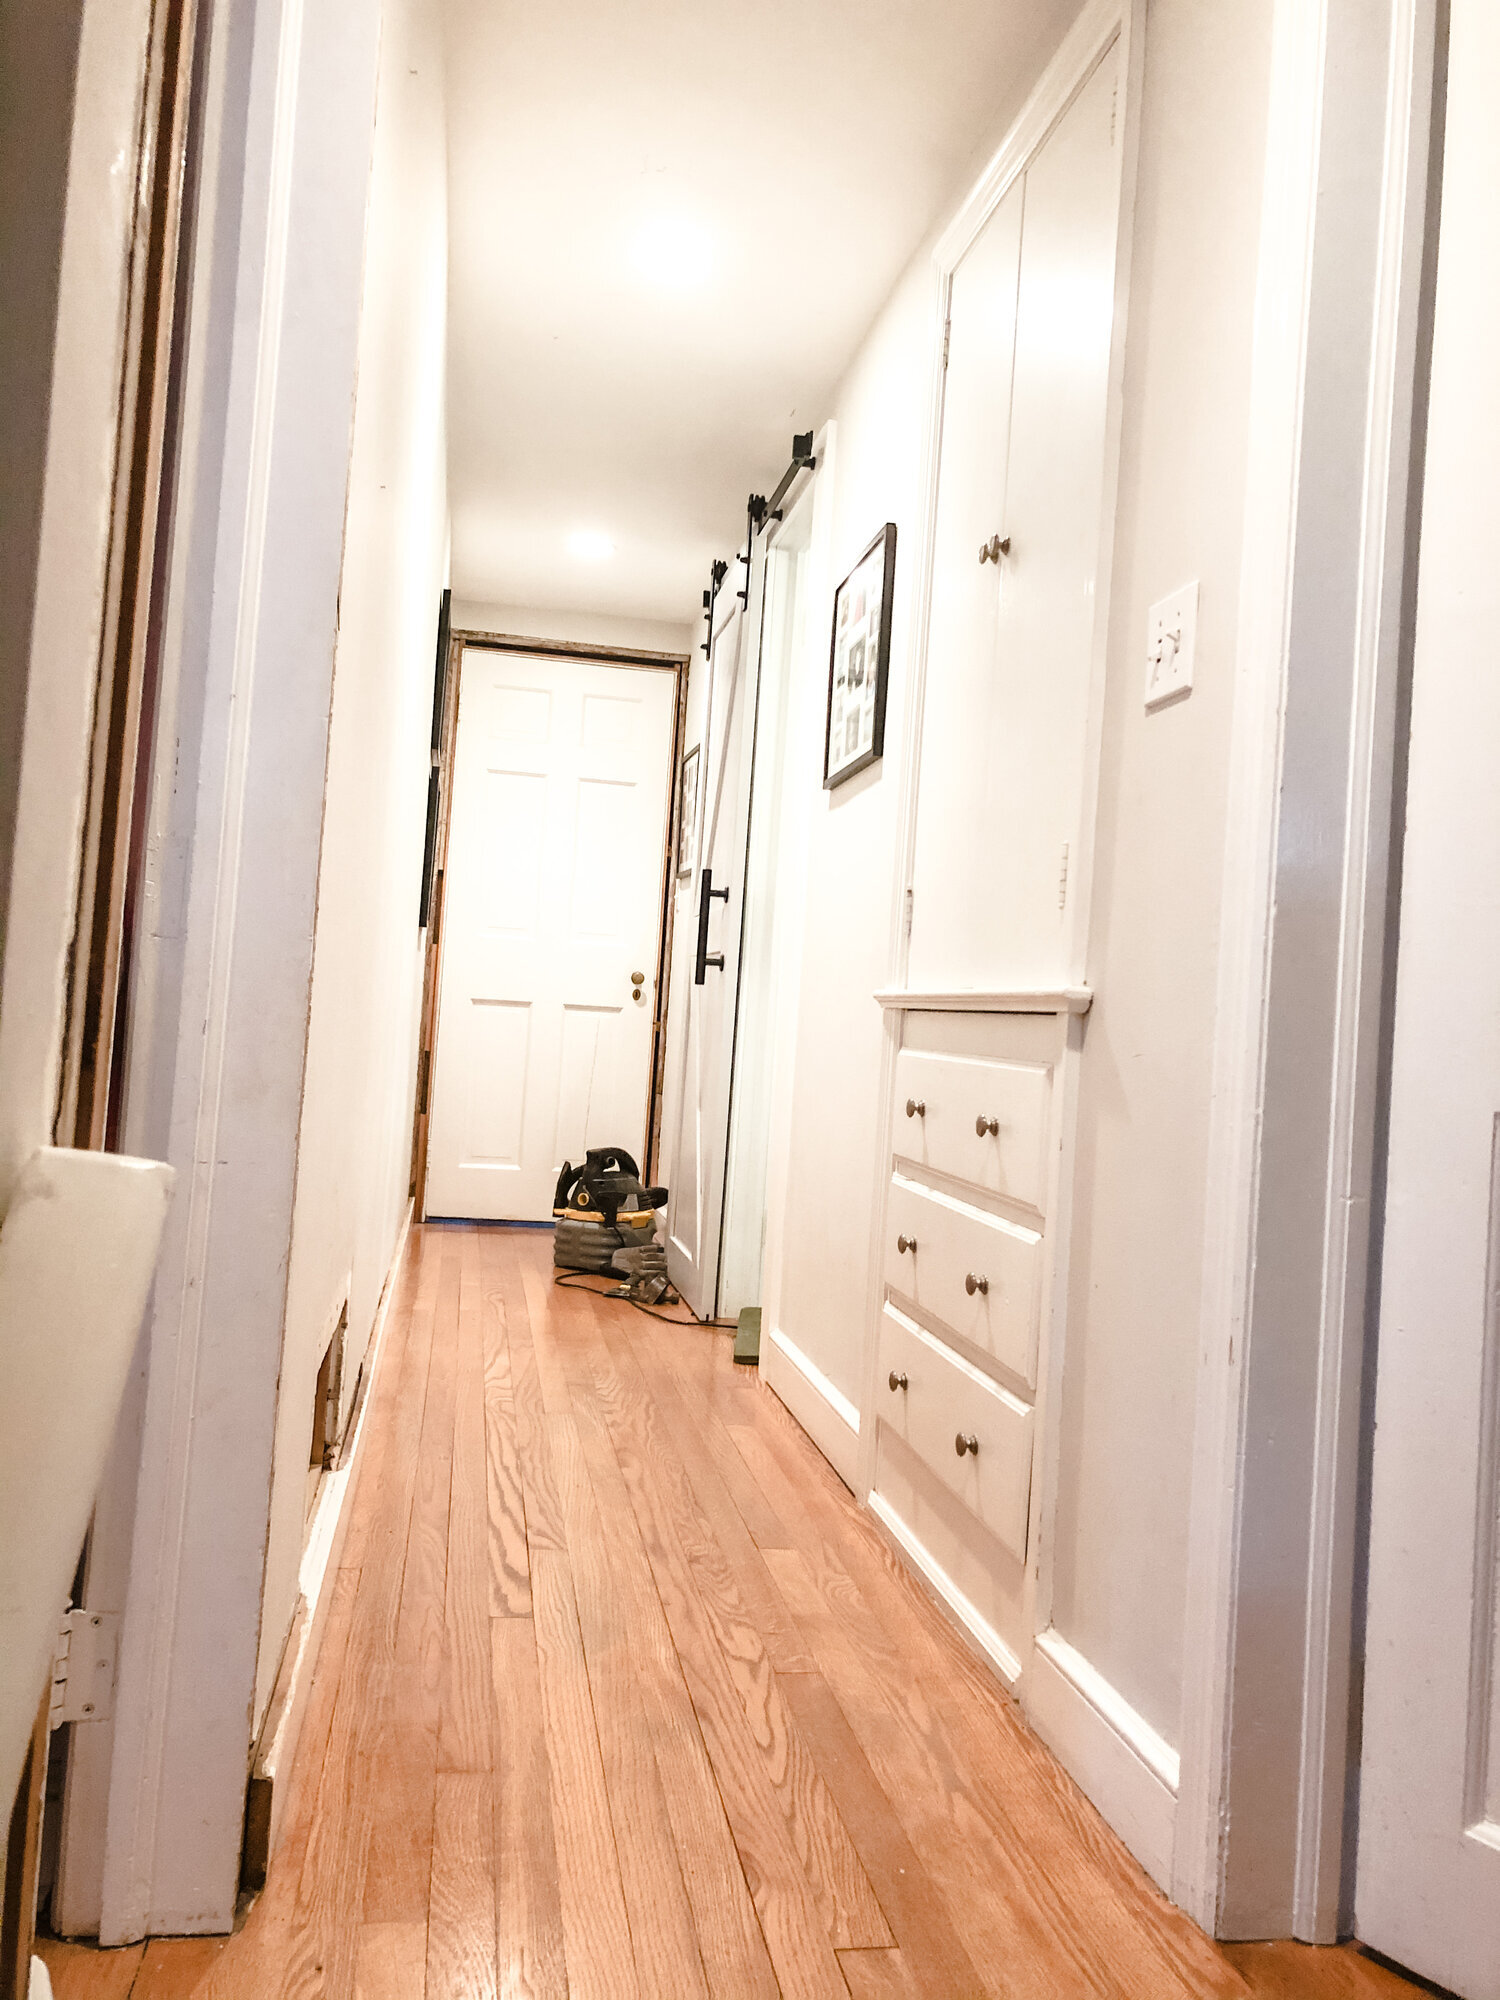

Next up was demo. We removed all of the old, dated doorway trim and replaced it with simple wood trim using this. We painted it Behr Ultra Pure White. Then we gutted our old, hard to maneuver, linen closet.

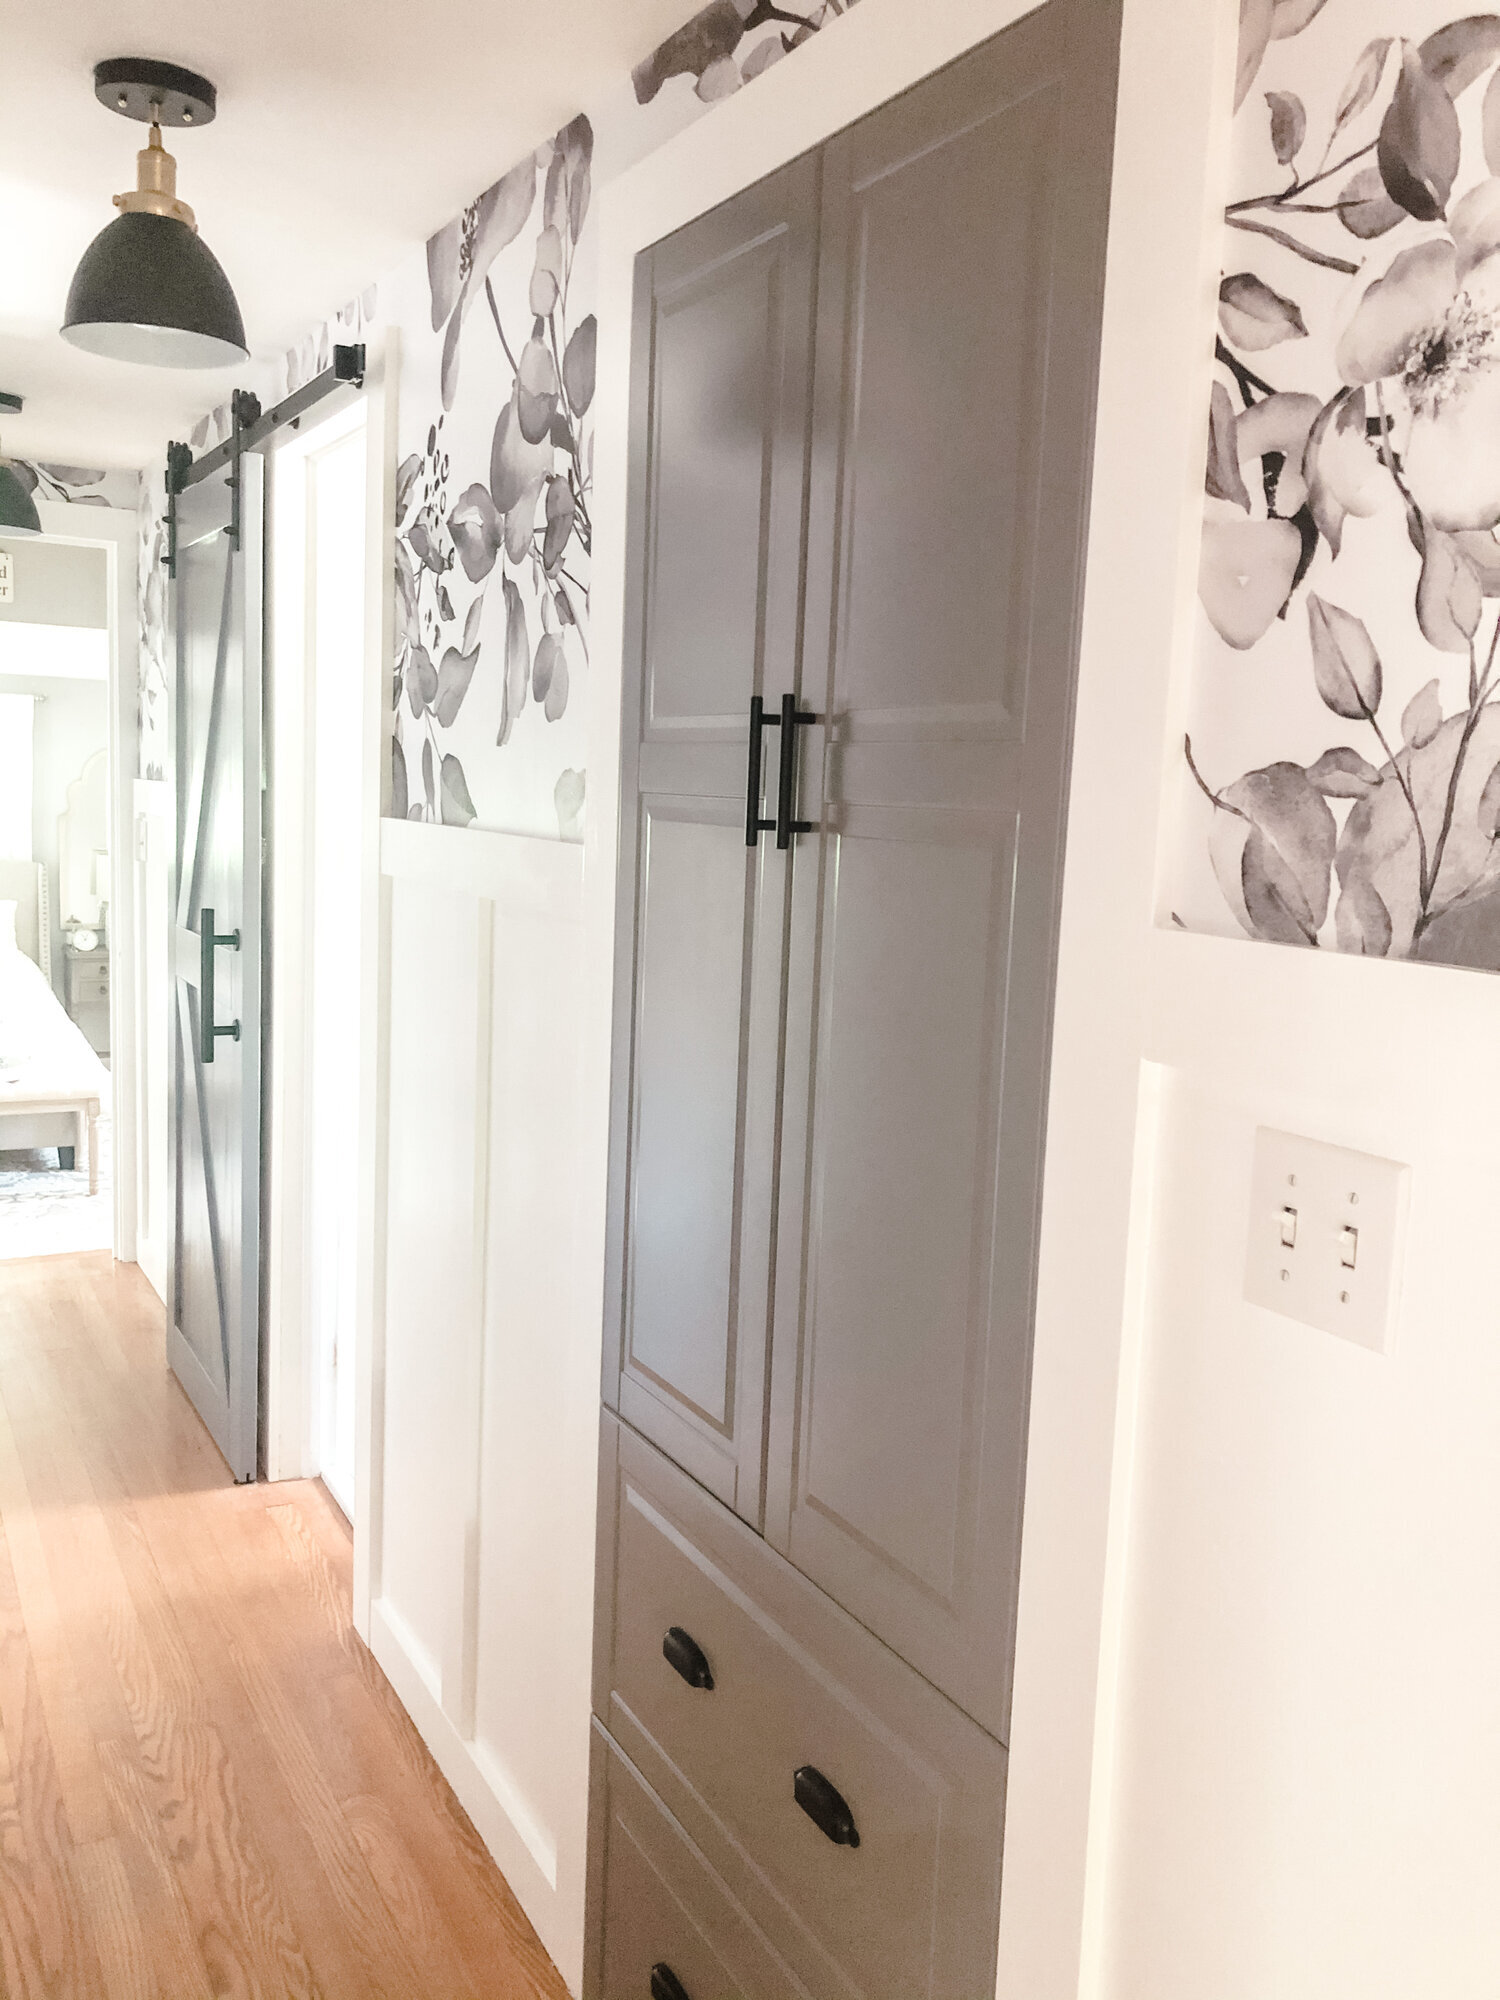
We knew we wanted to keep this space to preserve the charm and character of our 1940 home. We also still needed the function and storage of a linen closet, but wanted to update the look and make it an eye catching feature of the hallway! We decided to get a pre-existing storage closet and insert it into the space to make it look like it was a custom built piece. To get this look, we turned to Ikea. We knew they had reasonably priced, good looking storage pieces and landed on this wall cabinet that is actually part of their kitchen collection. It was deeper than our original closet, so we ended up demoing a wall in our son’s bedroom to get it to fit perfectly. The area in Jacob’s room was dead, awkward space, so there was no hesitation about that! Mr. Seasoned Home did have to shave a couple spots to get it to fit perfectly, but he did it!


It ended up being one of my favorite parts of the entire hallway! We decided to go with the cabinet in the color Bobden Gray. If you recall, we had previously put in a new barn door with our hall bathroom renovation and painted it a very pale gray. Once the cabinet came in, I had the idea to color match the gray cabinet color and repaint the outside of the barn door that was in the hallway. We took a small piece of the cabinet to Home Depot and they color matched it with Behr paint.

We decided to get similar hardware for the cabinet doors and drawers as we had on the barn door, to give it a seamless look! We went with these pulls for the doors and these pulls for the drawers!


Next up was Board and Batten! We used this MDF board in 4 foot high sections and 14.5” - 17”(measuring the inside of the box made) wide sections (depending on the full area) across the walls.

Finally, we used this peel and stick wallpaper in the pattern Midnight Flower, size 2’ wide x 4’ tall. Though it was frustrating at times (as any would be), I can honestly say the overall process was quite easy and I would DEFINITELY recommend this peel and stick wallpaper and would DEFINITELY use it again!

The cost of the project was as follows:
Pendant Lights: $165
Ikea Cabinet: $800
Cabinet Hardware: $30
MDF Baords for trim and Board and Batten: $100
Paint for board and batten and barn door and other prep items: $47/paint $30/prep
Peel and Stick Wallpaper: $500
Total cost: $1670, keep in mind, half of this was the cabinet!
This was one of the most fulfilling DIY’s we have done. The storage gained and wow factor at the end was more than I could have ever guessed. I hope you enjoyed following along with the process! Thanks for your support always!!